In this guide, you’ll learn how to maximize your productivity using a laptop stand. From improving posture to organizing your workspace, we cover essential tips to enhance your work flow and efficiency.
Contents
- 1 Key Takeaways
- 2 Boost Your Laptop Stand Productivity Tips for Better Work Flow
- 3 Why Use a Laptop Stand?
- 4 Step 1: Choose the Right Laptop Stand
- 5 Step 2: Set Up Your Workspace
- 6 Step 3: Adjust Your Laptop Stand
- 7 Step 4: Enhance Comfort with Accessories
- 8 Step 5: Implement Productivity Techniques
- 9 Troubleshooting Common Issues
- 10 Conclusion
- 11 Author
Key Takeaways
- Ergonomics Matter: Proper height and angle of your laptop can reduce strain on your neck and back.
- Declutter Your Workspace: A tidy desk boosts concentration and efficiency.
- Utilize External Accessories: Pairing a laptop stand with an external keyboard and mouse can enhance comfort.
- Improve Airflow: A laptop stand can help prevent overheating, ensuring your device runs smoothly.
- Set Up for Success: Create a dedicated workspace to improve focus and productivity.
- Take Regular Breaks: Use your stand as a reminder to stand up and stretch periodically.
- Adjustable Options: Consider adjustable stands for versatile configurations tailored to your needs.
Boost Your Laptop Stand Productivity Tips for Better Work Flow
In today’s digital age, many of us rely on laptops for work and personal tasks. However, long hours spent hunched over can lead to discomfort and decreased productivity. A laptop stand can be a game-changer! In this guide, you will learn how to use a laptop stand effectively to boost your productivity, improve your posture, and create an organized workspace.
Why Use a Laptop Stand?
Using a laptop stand elevates your device to eye level, promoting better posture. This simple adjustment can help you avoid neck and back pain. Furthermore, a laptop stand can improve airflow around your device, reducing the risk of overheating.
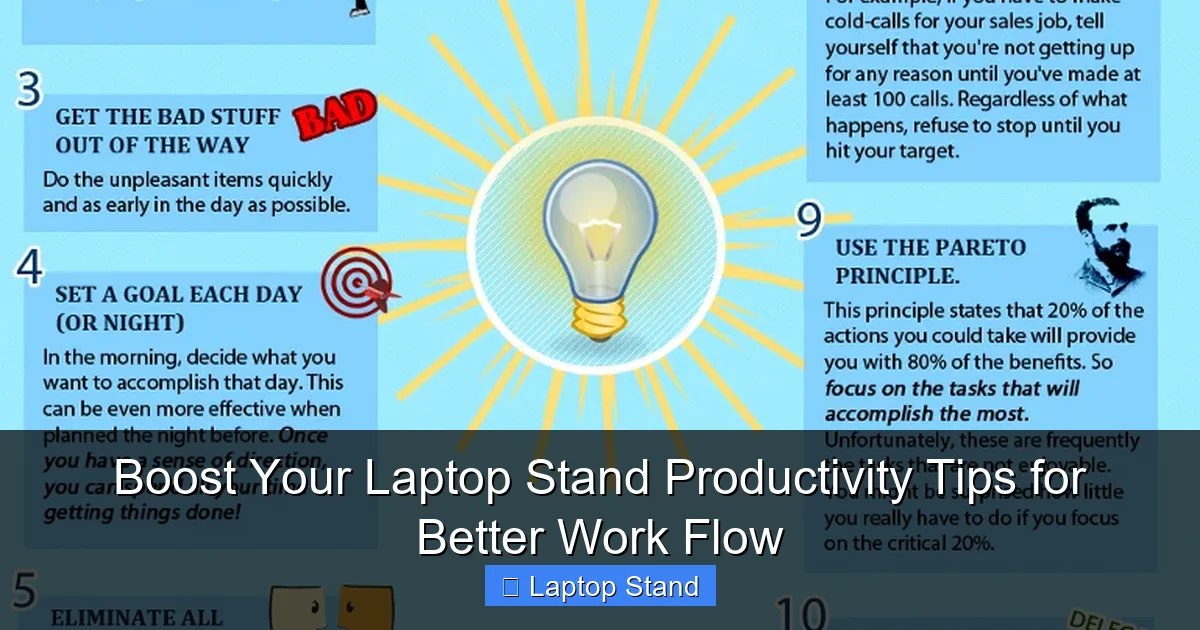
Visual guide about Boost Your Laptop Stand Productivity Tips for Better Work Flow
Image source: brandongaille.com
Step 1: Choose the Right Laptop Stand
Not all laptop stands are created equal. Here’s how to select the perfect one for your needs:
1. Consider Your Height
Different stands offer various height adjustments. Choose one that allows you to maintain a neutral spine position. Your screen should be at or slightly below eye level.
2. Portability
If you frequently travel or work in different locations, look for a lightweight and foldable option. This will make it easier to carry around.
3. Stability and Material
Ensure the stand is made of sturdy materials that can support your laptop without wobbling. Metal stands often provide better stability than plastic ones.
Step 2: Set Up Your Workspace
Creating an efficient workspace is crucial for productivity. Here’s how to set up your area:
1. Declutter the Desk
Remove unnecessary items from your desk. A clean space helps reduce distractions, allowing you to focus better.
2. Organize Cables
Use cable ties or trays to manage cords. Keeping your workspace tidy will make it easier to find what you need and prevent tangling.
3. Add Personal Touches
Incorporate elements that inspire you, such as plants or artwork. A personalized workspace can boost your mood and motivation.
Step 3: Adjust Your Laptop Stand
Once you have chosen a stand and set up your workspace, it’s time to adjust the stand for optimal use:
1. Height Adjustment
Elevate your laptop so that the top of the screen aligns with your eyes. This will help maintain a good posture. If your stand is adjustable, experiment with different heights until you find the most comfortable position.
2. Angle Adjustment
Adjust the angle of the laptop screen to minimize glare. You want to ensure that you can see the screen clearly without straining your eyes.
Step 4: Enhance Comfort with Accessories
To further improve your work setup, consider these accessories:
1. External Keyboard and Mouse
Using an external keyboard and mouse can significantly enhance comfort. This allows you to keep your arms at a comfortable angle, reducing strain.
2. Wrist Rest
A wrist rest can provide additional support while typing, minimizing the risk of repetitive strain injuries.
3. Monitor or Second Screen
If possible, connect your laptop to an external monitor. This will allow for more screen real estate and can improve your workflow.
Step 5: Implement Productivity Techniques
Now that your setup is ready, consider these techniques to maximize productivity:
1. Time Management Techniques
Utilize techniques like the Pomodoro Technique, where you work for 25 minutes and take a 5-minute break. Use your breaks to stretch or walk around.
2. Task Prioritization
Make a to-do list and prioritize your tasks. Break larger projects into smaller, manageable tasks. This will help you stay focused and organized.
3. Limit Distractions
Try to minimize distractions by using apps that block social media or notifications during work hours. A focused environment can enhance productivity.
Troubleshooting Common Issues
Even with a great setup, you may encounter some challenges. Here are solutions to common problems:
1. Screen Glare
If you experience screen glare, adjust the angle of your laptop or reposition your workspace to avoid direct light. Consider using an anti-glare screen protector.
2. Overheating
If your laptop overheats, ensure there’s enough space between the stand and the laptop for airflow. Consider using a stand with ventilation features.
3. Discomfort While Typing
If you experience discomfort while typing, assess your keyboard height. Make sure your wrists are straight and not angled up or down.
Conclusion
Using a laptop stand can significantly improve your work experience and productivity. By following these tips, you can create a comfortable and efficient workspace that enhances your workflow. Remember to take breaks and adjust your setup as needed. Enjoy a more productive workday!
🎥 Related Video: Laptop Stand With An Unexpected Feature!
📺 Beebom
We show you a laptop stand from Amazon which is super sleek & portable, looks premium and has one unexpected feature that …