In this guide, you will discover essential tips for improving your posture while using a laptop stand. Learn how to create a comfortable workspace that promotes better ergonomics. Say goodbye to aches and hello to productivity!
Contents
- 1 Key Takeaways
- 2 Essential Laptop Stand Posture Improvement Tips for Comfort
- 3 1. Choose the Right Laptop Stand
- 4 2. Set the Screen Height Properly
- 5 3. Utilize an External Keyboard and Mouse
- 6 4. Maintain a Neutral Spine
- 7 5. Foot Positioning
- 8 6. Take Regular Breaks
- 9 7. Monitor Your Posture
- 10 Troubleshooting Common Issues
- 11 Conclusion
- 12 Author
Key Takeaways
- Proper Height Matters: Your laptop screen should be at eye level to avoid neck strain.
- Use an External Keyboard and Mouse: This allows for a more natural hand position and reduces wrist strain.
- Maintain a Neutral Spine: Keep your back straight and shoulders relaxed to prevent back pain.
- Foot Positioning: Feet should be flat on the ground or on a footrest for improved stability.
- Regular Breaks: Taking breaks helps relieve tension and maintains blood circulation.
- Adjust Your Chair: Ensure your chair complements your laptop stand for optimal comfort.
- Monitor Your Posture: Regularly check your posture to avoid bad habits.
Essential Laptop Stand Posture Improvement Tips for Comfort
In our technology-driven world, many of us spend hours working on laptops. Unfortunately, this can lead to poor posture and discomfort. In this guide, we will explore essential tips for improving your posture using a laptop stand. You will learn how to set up your workspace for maximum comfort and productivity. Let’s dive in!
1. Choose the Right Laptop Stand
The first step to improving your posture is selecting the right laptop stand. A good laptop stand elevates your screen to eye level.
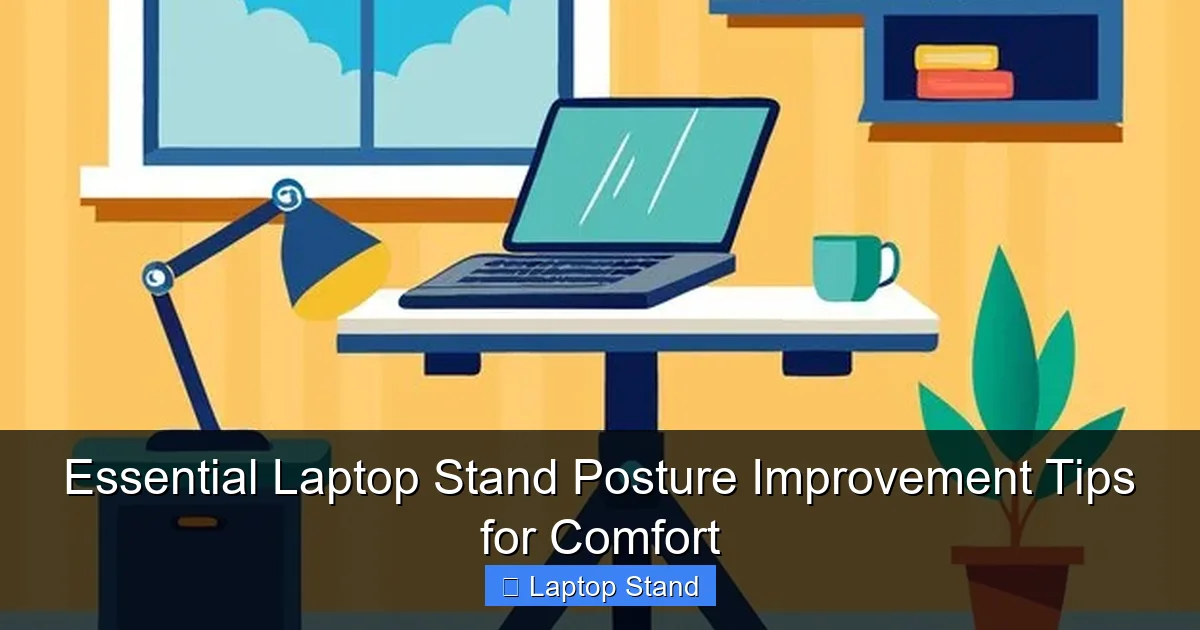
Visual guide about Essential Laptop Stand Posture Improvement Tips for Comfort
Image source: img.freepik.com
1.1 Look for Adjustable Stands
Adjustable stands allow you to customize the height and angle of your laptop. This flexibility makes it easier to find the best position for your body.
1.2 Consider Stability
Choose a stand that is sturdy and won’t wobble. Stability is key to maintaining a comfortable and safe workspace.
2. Set the Screen Height Properly
Your laptop screen must be at eye level. If it’s too low, you will strain your neck. If it’s too high, you may feel discomfort in your upper back.
2.1 Eye Level Check
Sit comfortably in your chair. Your eyes should naturally meet the top third of the screen. If you have to look down or up, adjust the stand accordingly.
2.2 Use a Monitor Riser if Necessary
If your laptop stand doesn’t elevate the screen high enough, consider using a monitor riser. This addition can further help reach the ideal eye level.
3. Utilize an External Keyboard and Mouse
Using an external keyboard and mouse is crucial for maintaining a natural hand position. This setup reduces wrist strain and promotes better ergonomics.
3.1 Positioning is Key
Place the keyboard and mouse at the same level as your elbows. Your arms should be at a 90-degree angle when typing. This angle keeps your wrists straight and relaxed.
3.2 Consider Wireless Options
Wireless keyboards and mice offer flexibility. You can position them where you feel most comfortable without the hassle of cords.
4. Maintain a Neutral Spine
Keeping your spine neutral is essential for avoiding discomfort. Your back should be straight, and your shoulders should be relaxed.
4.1 Chair Selection
Choose a chair that supports your lower back. Lumbar support is essential to maintain the natural curve of your spine.
4.2 Adjust Your Seating Position
Sit all the way back in your chair with your feet flat on the ground. Your knees should be level with your hips to promote good posture.
5. Foot Positioning
Your feet play a significant role in maintaining balance and stability. Proper foot positioning can enhance your overall comfort.
5.1 Keep Feet Flat
Ensure your feet are flat on the ground. If your chair is too high, use a footrest to keep your feet supported.
5.2 Avoid Crossing Legs
Avoid crossing your legs while sitting, as this can lead to poor circulation and discomfort. Keep your feet firmly planted.
6. Take Regular Breaks
Even with the best setup, sitting for long periods can lead to discomfort. Regular breaks are essential for your well-being.
6.1 Set a Timer
Consider setting a timer for every 30-60 minutes. Get up, stretch, or walk around to keep your blood flowing.
6.2 Stretching Exercises
Incorporate simple stretching exercises during breaks. Stretching your neck, shoulders, and back can alleviate tension.
7. Monitor Your Posture
It’s easy to slip into bad habits without realizing it. Regularly check your posture throughout the day.
7.1 Use Posture Reminders
Use reminders on your phone or sticky notes around your workspace to remind you to check your posture.
7.2 Ask for Feedback
If you work with others, ask them to give you feedback on your posture. Sometimes an outside perspective can help.
Troubleshooting Common Issues
If you find yourself still feeling discomfort after making these adjustments, consider the following:
- Persistent Neck Pain: Reassess the height of your laptop screen and ensure it meets your eye level.
- Wrist Discomfort: Look into ergonomic keyboards and ensure your wrists are straight while typing.
- Lower Back Pain: Check if your chair provides adequate lumbar support and adjust your seating position.
Conclusion
Improving your posture while using a laptop stand is crucial for your comfort and productivity. By following these essential tips, you can create a workspace that promotes better ergonomics. Remember to choose the right stand, adjust your screen height, and maintain a neutral spine. Taking regular breaks and monitoring your posture will further enhance your comfort and well-being. Start implementing these changes today for a healthier work environment!
🎥 Related Video: Laptop Stands Can Help With Posture At A Desk 👌🏼
📺 Quinn Castelane
If you’re at a desk for a large portion of the day, a laptop stand is a massive benefit to prevent you from collapsing forwards.