Properly cleaning your Shark robot vacuum filter is essential for maintaining powerful suction and protecting your machine. This guide provides a complete, step-by-step process for safely removing, cleaning, and drying both the foam and felt filters. Following these simple steps will extend the life of your vacuum and improve your home’s air quality.
Contents
- 1 Key Takeaways
- 2 Master the Art of Cleaning Your Shark Robot Vacuum Filter
- 3 Why Cleaning Your Shark Filter Matters
- 4 What You’ll Need
- 5 Step-by-Step Guide to Cleaning Your Shark Robot Vacuum Filter
- 6 How to Clean Each Filter Type
- 7 The Crucial Drying Process
- 8 Reassembly and Reinstallation
- 9 Troubleshooting Common Filter Issues
- 10 Conclusion: Breathe New Life Into Your Robot
- 11 Author
Key Takeaways
- Regular Cleaning is Non-Negotiable: Clean your Shark robot vacuum filter every 1-2 months for optimal performance and to prevent motor strain.
- Dry Completely Before Reinstalling: A damp filter can cause mold, dust clogs, and damage to your vacuum’s electronics. Always air-dry for 24 hours.
- Never Use Water on the Felt Filter: The HEPA-style felt filter should only be tapped clean. Washing it ruins its fine filtration ability.
- Gentle Hand-Washing is Key: Use cool water and mild soap for the foam pre-filter. Avoid harsh chemicals, brushes, or washing machines.
- Check Your Model’s Manual: Filter access and types can vary between Shark AI, IQ, or E Series robots. Always confirm your specific steps.
- Establish a Maintenance Schedule: Pair filter cleaning with bin emptying and brush roll checks for a comprehensive care routine.
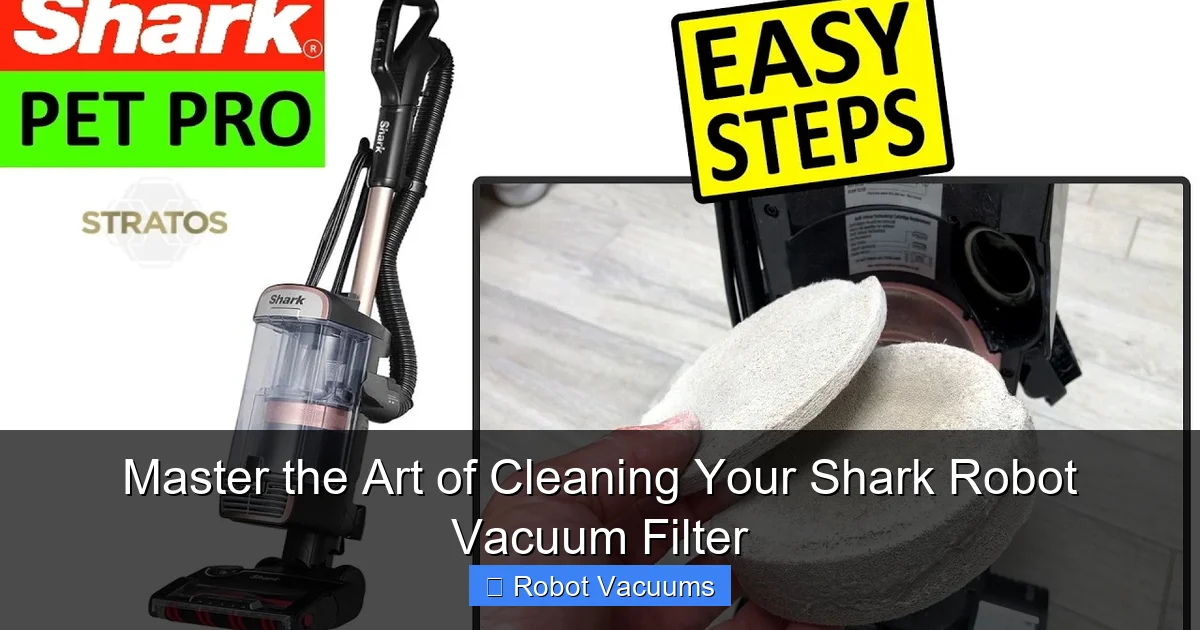
Master the Art of Cleaning Your Shark Robot Vacuum Filter
Your Shark robot vacuum is a hardworking helper. It dutifully navigates under furniture and around corners to keep your floors clean. But did you know its heart and lungs need regular care too? We’re talking about the filter. A clean Shark robot vacuum filter is the secret to powerful suction, a longer-lasting machine, and cleaner air in your home.
Neglecting this simple piece of maintenance can lead to weak pickup, strange noises, and even costly repairs. The good news? Cleaning it is incredibly easy. This guide will walk you through the entire process. You will learn how to safely remove, clean, dry, and reinstall your filter. Let’s get your little robot breathing easy again!
Why Cleaning Your Shark Filter Matters
Think of your vacuum’s filter like the air filter in your car. As it runs, it traps dust, dander, and allergens. Over time, this layer of dirt blocks airflow. Your vacuum’s motor has to work much harder to pull air through the clog. This leads to three big problems:
Visual guide about Master the Art of Cleaning Your Shark Robot Vacuum Filter
Image source: i.ytimg.com
- Loss of Suction: The most obvious sign. Your robot will leave more debris behind.
- Motor Strain: The overworked motor can overheat, shortening its lifespan.
- Poor Air Quality: A clogged filter can’t trap fine particles, so they get blown back into your room.
Regular cleaning prevents all of this. It’s the easiest way to protect your investment.
What You’ll Need
Gathering your supplies first makes the job smooth. You likely have everything at home:

Visual guide about Master the Art of Cleaning Your Shark Robot Vacuum Filter
Image source: i.ytimg.com
- Your Shark robot vacuum (powered off and on its charger)
- A trash can (for emptying the dust bin)
- Cool, running water (from a tap)
- A mild dish soap (optional, for deep cleans)
- A clean, dry towel
- A well-ventilated area for drying (out of direct sunlight)
Step-by-Step Guide to Cleaning Your Shark Robot Vacuum Filter
Follow these steps in order. Take your time, especially the first time.
Visual guide about Master the Art of Cleaning Your Shark Robot Vacuum Filter
Image source: vacuumtester.com
Step 1: Power Down and Access the Dust Bin
First, ensure your robot is turned off. Pick it up and place it on a table or counter. This gives you a good workspace. Locate the dust bin release button or latch. On most Shark robots, this is on the top or rear. Press it and lift the clear plastic dust bin out of the main body.
Step 2: Empty the Dust Bin Completely
Hold the dust bin over your trash can. Open the bottom lid or flap. Shake and tap it firmly to dislodge all debris. For stuck-on pet hair or dust, use your fingers or a dry cloth. Pro Tip: Do this outside or over a lined trash can to avoid a dusty cloud indoors.
Step 3: Remove the Filter Assembly
Look inside the empty dust bin compartment. You will see the filter housed in a plastic frame. Typically, you push a tab or gently pull a handle to release it. Carefully pull the entire filter assembly straight out. Most Shark robots use a two-stage system: a green foam pre-filter and a white felt HEPA-style filter.
Step 4: Separate the Filters for Cleaning
Hold the plastic filter frame. The foam filter is usually in front. Gently separate it from the felt filter behind it. They may just pull apart or have small clips. Place each filter on your clean workspace. Take a moment to note how they fit together for easy reassembly.
How to Clean Each Filter Type
This is the most important part. Each filter type has a different cleaning method. Using the wrong method can ruin your filter.
Cleaning the Foam Pre-Filter
The green foam filter catches large particles. You can wash this one.
- Hold it under cool, running tap water. Use a gentle stream.
- Gently squeeze and massage the foam until the water runs clear. Do not twist or wring it harshly.
- For a deeper clean, use a drop of mild dish soap. Lather gently and rinse thoroughly until all soap is gone.
- Press the foam between your palms to remove excess water. Never use a hair dryer or heat.
Cleaning the Felt HEPA-Style Filter
Warning: Do not wash or get this filter wet. Water will damage the delicate felt fibers and destroy its ability to trap micro-particles.
- Take the white felt filter to your trash can.
- Hold it by its plastic edges and tap it firmly against the inside of the bin. This dislodges embedded dust.
- You can also gently brush off surface dust with a clean, dry, soft-bristled brush (like a paintbrush).
The Crucial Drying Process
Never, ever put a damp filter back into your vacuum. Moisture can cause mold, dust clumping, and electrical issues.
- Lay both filters on a dry towel in a well-ventilated area. Ensure they are flat.
- Let them air dry for a full 24 hours. The foam filter, especially, needs this time to dry completely inside.
- Check that the foam is 100% dry and slightly springy to the touch before proceeding.
Reassembly and Reinstallation
Once bone-dry, you’re ready to put everything back.
- Place the dry felt filter back into its plastic frame.
- Slot the dry foam pre-filter in front of it, ensuring it sits flat.
- Insert the complete filter assembly back into the dust bin until it clicks into place.
- Slide the dust bin back into the main body of your Shark robot until it locks.
- Place your robot back on its charging dock. You’re all set!
Troubleshooting Common Filter Issues
Even with good care, you might run into a snag. Here’s how to handle it.
My Vacuum Still Has Weak Suction After Cleaning
Double-check that the foam filter is completely dry. A slightly damp filter is the most common culprit. Also, inspect the brush roll and air pathways for blockages like hair wraps or debris.
I Accidentally Washed the Felt Filter
If the felt filter got wet, let it dry for at least 48 hours. It may be permanently compromised. If suction remains poor, you will likely need to order a replacement filter from Shark.
The Filter Won’t Fit Back in the Dust Bin
Ensure the filters are seated correctly in their plastic frame. They must be perfectly flat. Also, confirm you have the filter assembly oriented the right way; it usually only fits one direction.
Conclusion: Breathe New Life Into Your Robot
Congratulations! You’ve now mastered a vital skill for any Shark robot vacuum owner. Cleaning your Shark robot vacuum filter is a simple, quick task with huge rewards. You’ll enjoy stronger suction, a happier motor, and a healthier home environment. Make this cleaning ritual a part of your regular schedule—every month or two, or more often if you have pets. Your faithful robotic cleaner will thank you with years of reliable, powerful performance. Now, sit back and let it do its job, knowing you’ve given it the best care possible.
🎥 Related Video: Essential maintenance tips for your Shark Robot vacuum
📺 Shark Home
A guide to keeping your Shark robot vacuum in top shape. Don’t forget to subscribe!