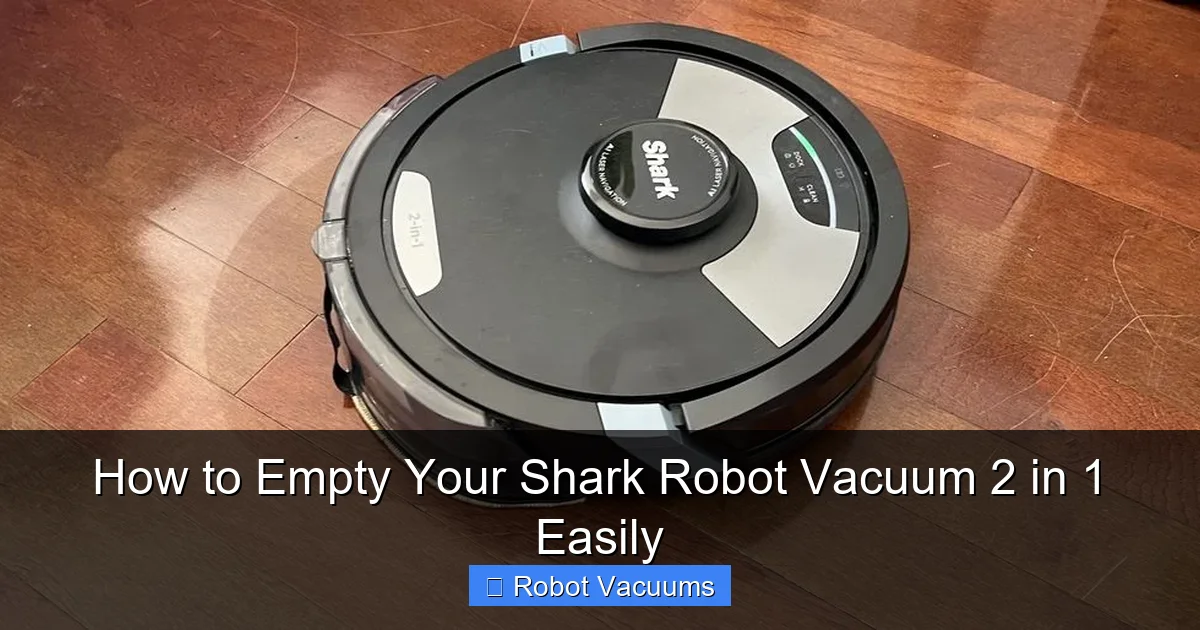
Emptying your Shark Robot Vacuum 2 in 1 is a simple, essential task for maintaining its powerful suction. This guide provides clear, step-by-step instructions for accessing and cleaning both the dust cup and the self-empty base, ensuring your robot vacuum operates efficiently for years to come.
Contents
- 1 Key Takeaways
- 2 How to Empty Your Shark Robot Vacuum 2 in 1 Easily
- 3 What You’ll Need
- 4 Step 1: Preparation and Safety
- 5 Step 2: Emptying the Robot’s Onboard Dust Cup
- 6 Step 3: Emptying the Self-Empty Base
- 7 Step 4: Post-Emptying Check and Cleanup
- 8 Troubleshooting Common Issues
- 9 Conclusion: Maintain for Maximum Performance
- 10 Author
Key Takeaways
- Power Down First: Always ensure the robot is turned off and docked before attempting to empty it to prevent messes and ensure safety.
- Two-Part Process: The Shark Robot Vacuum 2 in 1 requires you to empty both the robot’s onboard dust cup and the self-empty base’s dust bag for complete maintenance.
- Regular Emptying is Crucial: Don’t wait for the bin to be completely full; emptying it after 2-3 cleaning cycles prevents clogs and maintains optimal suction power.
- Check for Clogs: Periodically inspect the robot’s air pathways and the base’s intake port for blockages, especially if you have pets or long hair.
- Use Genuine Parts: For best performance and to avoid errors, use official Shark replacement dust bags and filters designed for your specific model.
- Clean Beyond the Bin: A thorough empty includes wiping out the dust cup, cleaning the filter, and checking the charging contacts on the robot and base.
How to Empty Your Shark Robot Vacuum 2 in 1 Easily
Your Shark Robot Vacuum 2 in 1 is a cleaning powerhouse. It sweeps your floors and empties itself into a base. But that base needs your help sometimes. Learning how to empty it properly is key. It keeps your vacuum running strong. It also prevents bad smells and clogs. This guide will walk you through every step. We will cover both the robot and the base. You will be a maintenance pro in no time. Let’s get started and keep your robot happy.
What You’ll Need
Gathering a few simple items first makes the job smoother. You won’t need any special tools.
Visual guide about How to Empty Your Shark Robot Vacuum 2 in 1 Easily
Image source: cdn.mos.cms.futurecdn.net
- Your Shark Robot Vacuum 2 in 1 (docked).
- A trash can.
- A clean, dry cloth or paper towel.
- A replacement Shark dust bag (if the base bag is full).
- A small brush (like a clean paintbrush or old toothbrush).
Step 1: Preparation and Safety
Always start with safety. This protects you and your machine.

Visual guide about How to Empty Your Shark Robot Vacuum 2 in 1 Easily
Image source: m.media-amazon.com
Power Down and Dock
Make sure your robot vacuum is on its charging dock. The self-empty base is part of this dock. Press the power button on the robot to turn it off. You can also use the SharkClean app to send it home and stop cleaning. This prevents the robot from moving or starting a cycle while you are handling it.
Unplug the Base (Optional but Recommended)
For the absolute safest process, unplug the self-empty base from the wall outlet. This ensures there is no electrical current while you are removing parts. It also prevents the base from accidentally trying to engage the emptying mechanism.
Step 2: Emptying the Robot’s Onboard Dust Cup
Even with a self-empty base, the robot has a small dust cup. You should check and empty this periodically, especially after a particularly dirty run.
Visual guide about How to Empty Your Shark Robot Vacuum 2 in 1 Easily
Image source: sharkvacuum.blog
Locate and Release the Dust Cup
On the top of your Shark robot, you will find a lid or cover. Press the release button or latch. This is often near the rear of the robot. Lift the lid to reveal the dust cup. Grip the handle of the dust cup and pull it straight up and out of the robot’s body.
Empty the Contents
Hold the dust cup over your trash can. There is usually a latch or door on the bottom of the cup. Open this door to let the debris fall out. You might need to tap the cup gently to dislodge fine dust and pet hair. For stubborn hair, use your small brush to pull it out.
Clean the Filter (A Crucial Extra Step)
Your dust cup has a filter inside. Do not empty the vacuum without checking it. Remove the filter according to your model’s instructions (usually it just lifts out). Tap it gently over the trash to remove loose dust. Do not wash the filter unless your manual says it is washable. Many are not. If it is washable, let it air dry for 24 hours before putting it back. A clean filter is vital for good suction.
Reinsert the Dust Cup
Make sure the bottom door of the dust cup is securely closed. Place the filter back inside if you removed it. Slide the dust cup back into the robot until it clicks into place. Close the lid on the robot’s top.
Step 3: Emptying the Self-Empty Base
This is the main event. The base holds a much larger dust bag that collects dirt from the robot over many cycles.
Open the Base Door
On the front of your self-empty base, you will find a door or cover. Press the release button or gently pull the latch to open it. The door will swing down or come off, revealing the dust bag compartment.
Remove the Full Dust Bag
Inside, you will see a large, pleated dust bag. Grip the bag by its plastic collar or handle. Pull it straight out of the compartment. Be careful as you remove it. The bag could be heavy and dusty.
Dispose and Replace
Take the full bag directly to your trash can. To dispose of it, you will typically twist the plastic collar to seal the bag shut. Some models have a pull-tab seal. Follow the instructions on the bag. Take a new, genuine Shark replacement bag. Remove any protective packaging. Insert it into the compartment, pushing the plastic collar in firmly until you feel it seat properly.
Close the Base and Replug
Close the door on the base until it clicks shut. If you unplugged it, now is the time to plug the base back into the wall outlet. The base’s indicator light will often blink or change color as it recognizes the new bag.
Step 4: Post-Emptying Check and Cleanup
A quick wipe-down ensures everything is ready for the next clean.
Wipe the Robot’s Sensors and Charging Contacts
Use your dry cloth to gently wipe the sensors on the robot. These are usually on the bumper and underneath. Also, wipe the metal charging contacts on the bottom of the robot and the corresponding pins on the docking base. This ensures a good connection for charging.
Check the Base’s Intake Port
Look inside the tunnel on the dock where the robot connects. Shine a flashlight in if needed. Sometimes hair or debris can get stuck here. Use your small brush or a long object (like a chopstick) to carefully clear any blockages.
Troubleshooting Common Issues
Sometimes, things don’t go perfectly. Here are quick fixes for common problems.
Robot Says “Empty Dust Bin” But You Just Did
First, double-check that the robot’s onboard dust cup is clicked in all the way. If it is, the filter might be clogged. Remove and clean the filter. Also, check the sensors around the dust cup area and wipe them with a dry cloth.
Base is Not Emptying the Robot
Ensure the base is plugged in and the door is closed completely. Check for a clog in the robot’s dust cup exit port or the base’s intake tunnel. Make sure you are using an official Shark brand dust bag. Third-party bags can sometimes cause errors.
Bad Odor Coming from the Base
This usually means the dust bag is very full or has been in place too long. Replace the bag immediately. For persistent smells, you can place an odor-absorbing pod (like those made for vacuums) in the bag compartment next to the new bag.
Conclusion: Maintain for Maximum Performance
Emptying your Shark Robot Vacuum 2 in 1 is a simple routine. It takes just a few minutes. But those minutes are an investment. They keep your floors clean and your machine healthy. Remember the two-part process: the robot’s cup and the base’s bag. Do this regularly. Your vacuum will thank you with years of reliable, powerful cleaning. Now, sit back and let your little robot helper do its job. You have mastered the maintenance.
🎥 Related Video: Robot Vacuum | Getting Started with the Shark Matrix™ Plus 2-in-1 Self-Empty Robot Vacuum and Mop
📺 Shark Home
Don’t forget to subscribe!