Plunging a toilet properly is a vital household skill that can save you time, money, and embarrassment. This guide provides a step-by-step approach to master the technique, from choosing the right plunger to executing the perfect plunge. With these tips, you’ll clear clogs effectively and maintain a functional bathroom.
Contents
- 1 Key Takeaways
- 2 Introduction: Why Mastering Toilet Plunging Matters
- 3 Step 1: Gather Your Tools and Supplies
- 4 Step 2: Prepare the Toilet and Surrounding Area
- 5 Step 3: Position the Plunger Correctly
- 6 Step 4: Execute the Plunging Motion
- 7 Step 5: Test and Repeat if Necessary
- 8 Practical Tips and Examples for Effective Plunging
- 9 Troubleshooting Common Plunging Problems
- 10 Conclusion: Become a Toilet Plunging Pro
- 11 Author
Key Takeaways
- Use the Right Plunger: A flange plunger is designed for toilets and creates a better seal than cup plungers.
- Prepare the Area: Clear space around the toilet and have old towels ready to manage any splashes.
- Create a Tight Seal: Ensure the plunger covers the drain hole completely to build effective pressure.
- Plunge with Rhythm: Use firm, consistent pushes and pulls to dislodge the clog without damaging the toilet.
- Test and Repeat: After plunging, flush to see if the clog is clear; repeat if necessary.
- Know When to Stop: If plunging doesn’t work after several attempts, it may be time to call a plumber.
- Maintain Your Toilet: Regular maintenance can prevent clogs and reduce the need for plunging.
Introduction: Why Mastering Toilet Plunging Matters
Let’s face it—a clogged toilet is one of the most common and frustrating household problems. But before you panic and reach for the phone to call a plumber, know that plunging a toilet properly is a skill you can easily master. This guide will walk you through every step, from selecting the right tools to executing the perfect plunge. By the end, you’ll be equipped to handle most clogs confidently, saving you time, money, and stress. We’ll cover techniques, tips, and troubleshooting so you can master the art of toilet plunging like a pro. Whether you’re a new homeowner or just want to be more self-reliant, learning to plunge a toilet correctly is empowering. It’s a basic yet essential task that keeps your bathroom functioning smoothly. So, roll up your sleeves and get ready to dive in!
Step 1: Gather Your Tools and Supplies
Before you start, it’s essential to have the right equipment. Using the wrong tools can make the job harder or even cause damage. Think of it as preparing for a simple DIY project. Having everything on hand will make plunging a toilet properly much smoother. Let’s break down what you need.
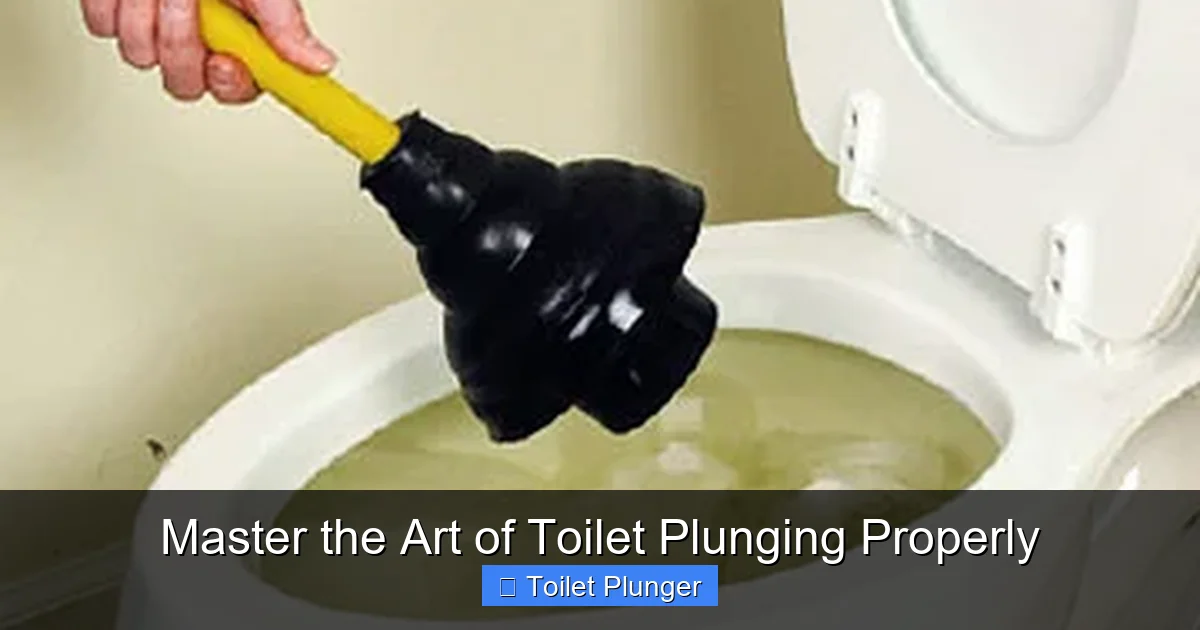
Visual guide about Master the Art of Toilet Plunging Properly
Image source: jaketheplumbercompany.com
Choose the Right Plunger
Not all plungers are created equal. For toilets, a flange plunger is your best bet. It has a rubber flap that extends from the cup, designed to fit snugly into the toilet drain. This creates a superior seal compared to a standard cup plunger, which is better for sinks. If you don’t have a flange plunger, consider investing in one—it’s a game-changer for plunging a toilet properly. You can find them at any hardware store. Look for one with a sturdy handle and flexible rubber for durability. Remember, the right plunger makes all the difference in effective toilet plunging.
Other Helpful Supplies
In addition to a plunger, gather these items:
- Rubber gloves: To keep your hands clean and protected from germs and dirty water.
- Old towels or rags: Place them around the base of the toilet to catch any water that might splash out. This keeps your floor dry and safe.
- Bucket: Useful for removing excess water if the toilet is very full. It can also hold clean water for rinsing.
- Hot water and dish soap: Sometimes, a combination of hot water and soap can help loosen a clog before plunging. Avoid boiling water as it can crack porcelain.
- Disinfectant spray or wipes: For cleaning up after the job is done, ensuring hygiene.
Having these supplies ready will help you plunge a toilet without unnecessary interruptions. It’s all about being prepared for a quick and clean fix.
Step 2: Prepare the Toilet and Surrounding Area
Preparation is key to a mess-free plunging experience. Take a few minutes to set up. This step prevents accidents and makes plunging the toilet more efficient. A little prep goes a long way in mastering this art.

Visual guide about Master the Art of Toilet Plunging Properly
Image source: craftingwithconcrete.com
Clear the Space
Move any bathroom mats, trash cans, or other items away from the toilet. This gives you room to work and prevents them from getting wet. You want a clear path so you can focus on plunging a toilet properly. Also, open a window or turn on the fan for ventilation. It helps with any odors.
Check the Water Level
If the toilet bowl is very full, you might need to remove some water. Use a bucket to scoop out enough water so that it’s below the rim but still covering the plunger cup. This prevents overflow when you start plunging the toilet. If the water is too low, add some from the sink to cover the plunger. The water helps create pressure and seal. Aim for about halfway full for best results.
Add Lubrication if Needed
For a better seal, you can apply a small amount of petroleum jelly to the rim of the plunger cup. This helps it grip the toilet drain more effectively. It’s a simple trick that enhances your toilet plunging technique. Just a dab will do—don’t overdo it, or it might get messy.
Safety First
Wear your rubber gloves to protect your hands. If you have long hair, tie it back. Make sure the floor is not slippery. These small actions ensure you can plunge a toilet safely and confidently. Preparation sets the stage for success.
Step 3: Position the Plunger Correctly
Proper positioning is crucial for effective plunging. A poor seal means less pressure and a longer struggle. This step is where many people go wrong, but with guidance, you’ll plunge a toilet properly every time. Let’s get into the details.
Visual guide about Master the Art of Toilet Plunging Properly
Image source: christiansonco.com
Create a Tight Seal
Place the plunger into the toilet bowl, ensuring the cup completely covers the drain hole at the bottom. The flange should be inside the drain if you’re using a flange plunger. Press down gently to expel air from the cup and create a vacuum seal. You should feel resistance when you pull up. This seal is vital for building pressure to dislodge the clog. If air escapes, adjust the plunger until it’s snug. A good seal is the foundation of mastering toilet plunging.
Angle for Success
Hold the plunger handle straight up and down. Avoid tilting it, as this can break the seal. Your goal is to maintain consistent pressure throughout the toilet plunging process. Stand comfortably with your feet shoulder-width apart for stability. This posture helps you control the plunging motion without straining your back. Remember, the angle matters as much as the seal.
Check the Water Coverage
Ensure the plunger cup is submerged in water. Water acts as a medium to transfer pressure. If it’s not covered, add more water from the bucket. This simple check can make your plunging a toilet efforts more effective. It’s all about optimizing conditions for success.
Step 4: Execute the Plunging Motion
This is where the magic happens. The right technique can clear a clog in seconds. Mastering this motion is key to plunging a toilet properly. It’s not just about force; it’s about rhythm and pressure. Let’s break it down.
Use Firm, Rhythmic Movements
With a tight seal, push down firmly on the plunger handle, then pull back up quickly. The motion should be brisk but controlled. Repeat this push-pull action 10-15 times. The idea is to create pressure waves that dislodge the clog without forcing it further down the pipe. Think of it as a pump action. This rhythm is core to toilet plunging success. Don’t rush—steady beats work best.
Apply Steady Pressure
Don’t use all your force at once. Start with moderate pressure and increase if needed. If you push too hard, you might break the seal or splash water. Remember, plunging a toilet properly is about finesse, not brute strength. Use your arms and shoulders, not just your wrists. This approach protects your body and the toilet. Consistent pressure builds momentum to clear the clog.
Listen for Signs
As you plunge, you might hear a gurgling sound or see bubbles. This indicates that air and water are moving, which is a good sign that the clog is loosening. These cues tell you that your plunging the toilet technique is working. If you hear a sudden swoosh, the clog might have cleared. Pay attention to these sounds—they’re your feedback loop.
Adjust as Needed
If you feel the seal breaking, stop and reposition the plunger. Sometimes, the clog shifts, and you need to restart. It’s okay to pause and check. This adaptability is part of mastering the art of toilet plunging. Keep going until you sense progress.
Step 5: Test and Repeat if Necessary
After plunging, it’s time to check if the clog is clear. This step ensures you’ve fully solved the problem. Patience here pays off in plunging a toilet properly. Let’s go through the testing process.
Flush to Test
Gently remove the plunger and flush the toilet. If the water drains normally, congratulations—you’ve successfully plunged the toilet! If it still drains slowly or backs up, you may need to repeat the process. A successful flush means the water goes down smoothly and refills without issue. That’s the goal of toilet plunging.
Repeat the Process
If the first attempt didn’t work, don’t give up. Reposition the plunger and try again. Sometimes, stubborn clogs require multiple rounds of plunging. You can also let hot water sit in the bowl for a few minutes to soften the clog before plunging again. Persistence is key in plunging a toilet properly. Try 2-3 rounds before considering other options.
Know When to Stop
If you’ve plunged several times with no improvement, the clog might be too severe for a plunger. It could be caused by foreign objects or a deeper blockage in the pipes. In such cases, it’s best to call a professional plumber. Knowing your limits is part of mastering toilet plunging. Don’t risk damage by overdoing it.
Clean Up After
Once done, clean the plunger with disinfectant and rinse it. Wipe down the toilet and floor with your towels and disinfectant. Proper cleanup completes the job of plunging a toilet hygienically. Store your plunger in a dry place for next time.
Practical Tips and Examples for Effective Plunging
Here are some extra insights to enhance your toilet plunging skills. These tips come from experience and can make plunging a toilet properly even easier. Apply them for better results.
Tip 1: Use Hot Water and Dish Soap
For minor clogs, pour a cup of dish soap into the toilet bowl, followed by a gallon of hot (not boiling) water. Let it sit for 15-20 minutes. The soap can lubricate the pipes, and the hot water can break down organic matter. Then plunge as usual. This pre-treatment can simplify plunging the toilet by loosening the clog first.
Tip 2: Prevent Future Clogs
To avoid frequent plunging, be mindful of what you flush. Only toilet paper and human waste should go down the toilet. Avoid flushing wipes, feminine hygiene products, paper towels, or other non-degradable items. Educate everyone in your household. Prevention reduces the need for toilet plunging.
Tip 3: Maintain Your Plunger
After use, clean your plunger with disinfectant and store it in a dry place. A clean plunger is more hygienic and effective for future use. Check it periodically for cracks or wear. Good maintenance supports plunging a toilet properly over time.
Tip 4: Practice on a Slow Drain
If your toilet drains slowly but isn’t fully clogged, use that as practice. Plunge gently to improve flow. This helps you get comfortable with the technique before a major clog. Practice makes perfect in mastering the art of toilet plunging.
Tip 5: Use a Toilet Auger as a Backup
For tough clogs, a toilet auger or snake can be a useful tool. It reaches deeper than a plunger. Learn how to use one safely. Having it as an option complements your plunging a toilet skills.
Troubleshooting Common Plunging Problems
Sometimes, things don’t go as planned. Here’s how to handle common issues. Troubleshooting is part of plunging a toilet properly. Don’t get discouraged—use these solutions.
Problem: The Plunger Won’t Create a Seal
Solution: Ensure the plunger cup is fully submerged in water. If the water level is too low, add more water from the sink. Also, check that the plunger is the right type and in good condition—no cracks or tears. A damaged plunger won’t seal well. This fix is crucial for effective toilet plunging.
Problem: Water Splashes Everywhere
Solution: Use slower, more controlled movements. Place towels around the base to catch splashes. If the bowl is very full, remove some water before plunging. Also, avoid pulling up too forcefully. Managing splashes is key to clean plunging a toilet.
Problem: The Clog Won’t Budge
Solution: Try alternating between plunging and letting hot water sit. If after several attempts it’s still stuck, consider using a toilet auger or snake. These tools can reach deeper clogs. If all else fails, call a plumber. This problem-solving approach is part of mastering toilet plunging.
Problem: Toilet Overflows During Plunging
Solution: Stop immediately and use a bucket to remove water. Then, try plunging with a lower water level. If overflow persists, the clog may be severe, and you should seek professional help. Quick action prevents bigger messes in plunging the toilet.
Problem: Unpleasant Odors
Solution: Ventilate the area by opening windows or using a fan. After plunging, clean thoroughly with disinfectant to neutralize odors. Regular maintenance can also reduce smells. Hygiene is important in toilet plunging.
Conclusion: Become a Toilet Plunging Pro
Mastering the art of plunging a toilet properly is an empowering skill. With the right tools, technique, and a bit of practice, you can handle most clogs quickly and efficiently. Remember, preparation and patience are key. Don’t rush the process, and always follow up with proper maintenance to prevent future issues. By following this guide, you’ve taken a big step toward self-reliance in home maintenance. So next time your toilet clogs, you’ll know exactly what to do—plunge with confidence! Keep this guide handy, share it with friends, and enjoy the satisfaction of solving a common problem like a pro. Toilet plunging is no longer a mystery but a mastered art.