This guide walks you through the entire Shark robot vacuum setup process, from unboxing to scheduling your first clean. You’ll learn how to charge the dock, connect to the SharkClean app, and run a successful mapping run. Follow these steps to automate your cleaning in under an hour.
Contents
- 1 Key Takeaways
- 2 Master Your Shark Robot Vacuum Setup Guide
- 3 Step 1: Unbox and Inventory
- 4 Step 2: Prepare Your Home
- 5 Step 3: Set Up the Charging Dock
- 6 Step 4: Charge the Robot Vacuum
- 7 Step 5: Download and Connect the SharkClean App
- 8 Step 6: The All-Important First (Mapping) Run
- 9 Step 7: Configure Smart Features in the App
- 10 Step 8: Basic Maintenance and Troubleshooting
- 11 Conclusion: Enjoy Your Clean Home
- 12 Author
Key Takeaways
- Prepare Your Space First: Clearing floors of cords and clutter ensures a safe and effective mapping run for your robot.
- Dock Placement is Critical: Position the charging dock on a level surface against a wall with ample clearance on both sides for best results.
- The App is Your Command Center: Downloading the SharkClean app unlocks full control, including scheduling, room-specific cleaning, and voice commands.
- Let It Map Undisturbed: The initial mapping run is crucial; allow the vacuum to clean uninterrupted to build an accurate home layout.
- Regular Maintenance Ensures Longevity: Simple habits like emptying the bin after each run and cleaning sensors weekly keep your vacuum running smoothly.
- Use Features Like No-Go Zones: Setting virtual boundaries in the app prevents the vacuum from entering areas you want to keep off-limits.
Master Your Shark Robot Vacuum Setup Guide
Welcome to your new cleaning partner. Setting up your Shark robot vacuum is exciting. It is the first step toward a cleaner home with less work. This guide will help you. We will cover everything from unboxing to scheduling. You will learn how to use all the smart features. Follow these simple steps. You will master your new robot in no time.
Step 1: Unbox and Inventory
Start by carefully unboxing your Shark vacuum. Lay all parts on the floor. Make sure you have everything. This prevents issues later.
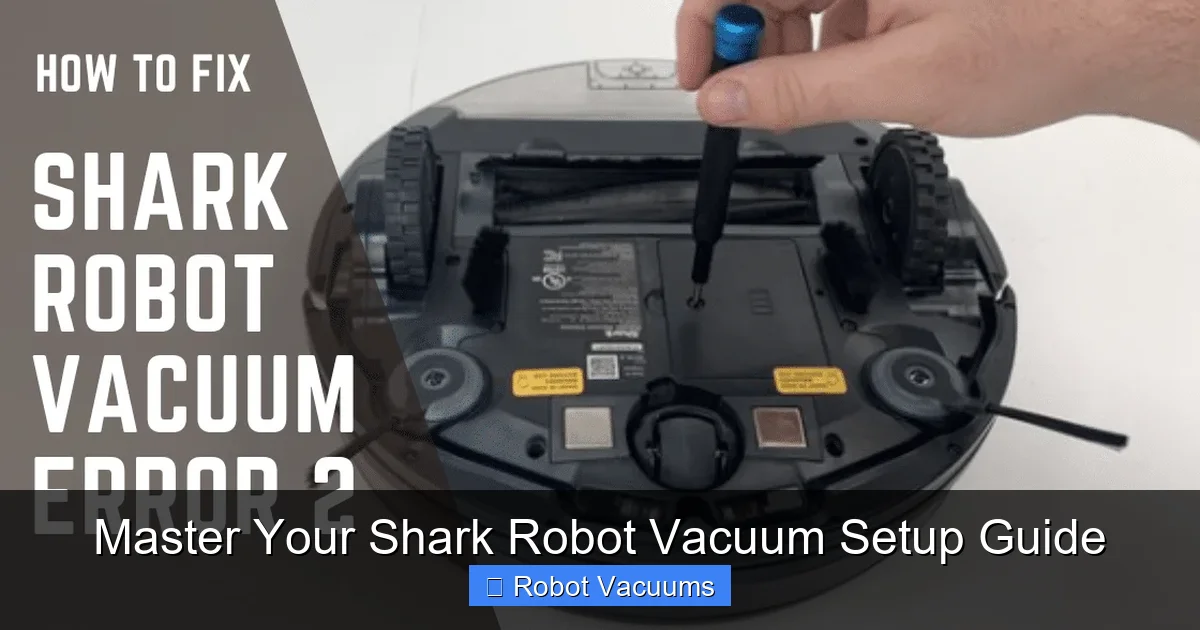
Visual guide about Master Your Shark Robot Vacuum Setup Guide
Image source: cleanersadvisor.com
What’s in the Box?
You should find these items:
- The Shark robot vacuum
- The charging dock
- A power adapter for the dock
- One or more side brushes (often attached)
- A user manual and quick-start guide
- Sometimes, an extra filter or brush roll
Tip: Keep the box and packaging for at least a few days. This is helpful if you need to return the unit.
Step 2: Prepare Your Home
Before you turn on the robot, prep your space. This is a key step for success.

Visual guide about Master Your Shark Robot Vacuum Setup Guide
Image source: cdn.mos.cms.futurecdn.net
Clear the Floors
Pick up items like shoes, toys, and clothes. Tuck away loose power cords and rug tassels. Your robot is smart, but it can get tangled.
Check for Hazards
Look for steep drops, like stairs. Most Shark models have cliff sensors. But it is best to be safe. Use physical barriers if needed for now.
Adjust Furniture
Make sure chair legs are not too tight for the robot to pass. Lift delicate curtains or long tablecloths off the floor.
Example: A phone charger cable on the floor is a common problem. Just picking it up saves your robot from getting stuck.
Step 3: Set Up the Charging Dock
The dock is your robot’s home. Its placement is very important.
Visual guide about Master Your Shark Robot Vacuum Setup Guide
Image source: smarthomeways.com
Find the Perfect Spot
Choose a permanent, level location on a hard floor. Place it against a wall. Leave at least 3 feet of clear space on both sides. Leave 5 feet clear in front. Do not put it in a corner or in direct sunlight.
Power the Dock
Plug the power adapter into the dock. Then plug it into a wall outlet. The dock should light up. A green light means it is ready.
Tip: Avoid places with high foot traffic. You do not want people kicking the dock or tripping over the cord.
Step 4: Charge the Robot Vacuum
Your robot needs a full battery before its first run.
Initial Charge
Place the robot vacuum directly onto the charging contacts on the dock. You will hear a beep. The indicator lights on the robot will show it is charging. A full charge can take up to 6 hours. Let it charge completely.
Check the Battery
Consult your manual for light patterns. Usually, a solid white or blue light means a full charge. Do not interrupt this first charge.
Step 5: Download and Connect the SharkClean App
The app turns your robot from basic to brilliant. It is free for iOS and Android.
Download the App
Search for “SharkClean” in your phone’s app store. Download and install it.
Create an Account
Open the app. Follow the prompts to create a Shark account. Use your email. This saves your home’s map.
Connect to Your Robot
Ensure your phone’s Bluetooth is on. Press and hold the “Dock” and “Max” buttons on your robot for 3 seconds. This puts it in Wi-Fi setup mode. The app will guide you. Connect the robot to your 2.4 GHz home Wi-Fi network. Do not use 5 GHz.
Tip: Have your Wi-Fi password ready. The app needs it to link your robot.
Step 6: The All-Important First (Mapping) Run
This run is not about deep cleaning. It is about learning your home’s layout.
Start the Clean
From the app, tap “Clean” or press the “Clean” button on the robot itself. Let it leave the dock.
Let It Roam Freely
Do not follow it. Do not pick it up. Let it clean and explore for its entire battery cycle. It will return to the dock to recharge if needed and then continue.
Save Your Map
Once it has covered most areas, the app will show a map. You may be prompted to name and save it. Give it a name like “Main Floor.” This map is the foundation for all smart features.
Step 7: Configure Smart Features in the App
Now, personalize your cleaning.
Set Up No-Go Zones
See a spot you want to protect? Like a pet bowl area or a rug with tassels? Use the “No-Go Zone” tool. Draw a virtual line or box on the map. Your Shark robot vacuum will not cross it.
Create a Cleaning Schedule
Tap “Schedule” in the app. Choose days and times. For example, set it to clean the kitchen every weekday at 10 AM. Your robot will start automatically.
Try Voice Control
Link the app to Alexa or Google Assistant. Then say, “Alexa, ask Shark to start cleaning.” It is very convenient.
Step 8: Basic Maintenance and Troubleshooting
Keep your robot happy with simple care.
Daily/Weekly Maintenance
- Empty the Bin: Do this after every cleaning cycle.
- Clean the Filter: Tap it out weekly. Rinse it every month. Let it dry for 24 hours.
- Check the Brush Roll: Remove hair and string weekly.
- Wipe Sensors: Gently clean the cliff and bumper sensors with a dry cloth.
Quick Troubleshooting
Robot won’t start? Check if it’s charged. Ensure it’s properly on the dock.
App connection lost? Restart your robot and phone. Reconnect to Wi-Fi.
Poor cleaning? Check for a full bin or a clogged brush roll.
Robot gets stuck often? Re-prep your floors. Set a No-Go Zone for the trouble spot.
Conclusion: Enjoy Your Clean Home
Congratulations. You have mastered the Shark robot vacuum setup. You unboxed it. You placed the dock. You connected the app. You ran the mapping cycle. Now, you can schedule cleans and use voice commands. Your floors will stay clean with minimal effort. Remember to do the simple maintenance. This keeps your robot running for years. Sit back, relax, and let your new Shark robot vacuum handle the dirt.
🎥 Related Video: Robot Vacuum | Getting Started with the Shark Matrix™ Plus 2-in-1 Self-Empty Robot Vacuum and Mop
📺 Shark Home
Don’t forget to subscribe!