This guide provides a clear, step-by-step method to unclog a toilet using a standard plunger. You will learn the proper plunging technique, essential preparation steps, and what to do if the clog persists. With the right tools and this simple method, you can solve most common toilet clogs yourself in just a few minutes.
Contents
- 1 Key Takeaways
- 2 Your Complete Guide to Unclogging a Toilet with a Plunger
- 3 Step 1: Assemble Your Tools and Prepare the Area
- 4 Step 2: Position the Plunger Correctly
- 5 Step 3: Master the Plunging Technique
- 6 Step 4: Test the Drain and Repeat if Necessary
- 7 Step 5: The Final Flush and Cleanup
- 8 Troubleshooting: What If Plunging Doesn’t Work?
- 9 Conclusion: Confidence in Your Hands
- 10 Author
Key Takeaways
- Preparation is Key: Having the right plunger (a flange plunger) and preparing the area with old towels can prevent a bigger mess and make the job easier.
- Create a Tight Seal: The success of plunging hinges on creating an airtight seal between the plunger cup and the toilet drain. Submerge the cup completely and push straight down to start.
- Use the Right Motion: Effective plunging uses a strong, deliberate push-pull motion focused on moving water and debris, not just splashing. Let the suction do the work.
- Test and Repeat: After 15-20 good plunges, test the drain by flushing. If water drains slowly, repeat the process. Patience often pays off with stubborn clogs.
- Know When to Stop: If multiple plunging sessions don’t work, the clog may be too deep or solid for a plunger. It’s time to try a toilet auger or call a professional.
- Clean Up Thoroughly: Always disinfect your plunger and the surrounding area after use to maintain hygiene and be ready for the next time.
Your Complete Guide to Unclogging a Toilet with a Plunger
A clogged toilet is a common household headache. It can cause stress, mess, and a lot of anxiety. But before you panic or reach for the phone to call a plumber, know this: most toilet clogs can be fixed quickly and easily with a simple tool you probably already own—the humble plunger. This guide will walk you through every step, from preparation to clean-up, ensuring you have the knowledge and confidence to tackle this problem like a pro. You will learn the right type of plunger to use, the correct technique for maximum force, and what to do if your first attempt doesn’t work. Let’s dive in and get your toilet flowing freely again.
Step 1: Assemble Your Tools and Prepare the Area
Before you start, gathering what you need will make the process smoother and cleaner.
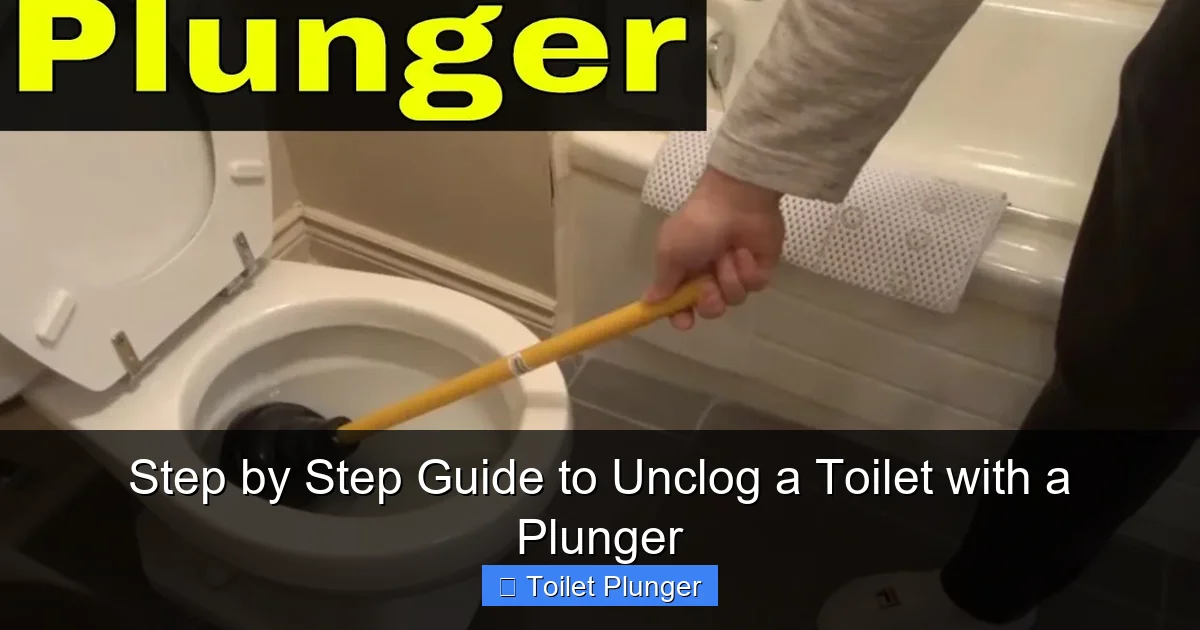
Visual guide about Step by Step Guide to Unclog a Toilet with a Plunger
Image source: i.ytimg.com
Gather Your Supplies
You don’t need much. Here is your checklist:
- The Right Plunger: Not all plungers are created equal. For a toilet, you need a flange plunger. It has a soft rubber cup with an extra soft rubber flap (the flange) that extends from the bottom. This flange is designed to fit snugly into the toilet’s drain hole, creating the superior seal you need for success. A simple sink plunger (a cup-only style) will not work well.
- Rubber Gloves: This is non-negotiable. Wear long, heavy-duty rubber gloves to protect your hands and forearms.
- Old Towels or Rags: Place these on the floor around the base of the toilet. This catches any accidental splashes of water, keeping your floor dry and clean.
- Bucket (Optional but Helpful): If the toilet bowl is very full, you may need to remove some water to prevent overflow during plunging.
- Disinfectant or Bleach: For cleaning your plunger and the area after the job is done.
Prepare the Toilet and Bathroom
First, put on your gloves. Then, look at the water level in the bowl. If it is dangerously high and looks like it might overflow with any movement, use your bucket to carefully remove some water into a nearby tub or sink. You want enough water in the bowl to cover the head of the plunger—about 2-3 inches is perfect. This water is crucial as it helps create the necessary hydraulic pressure to dislodge the clog.
Step 2: Position the Plunger Correctly
This is the most important step for creating effective suction.

Visual guide about Step by Step Guide to Unclog a Toilet with a Plunger
Image source: cdn.homedit.com
Create the Perfect Seal
Take your flange plunger and position it over the drain hole at the bottom of the toilet bowl. Make sure the flange (the extra piece) is pulled out if it’s folded inside the cup. Slowly lower the plunger into the water at an angle, letting the water fill the cup. This pushes the air out. Then, press the cup down firmly so it completely covers the drain opening. The goal is to form an airtight seal between the rubber and the porcelain. The flange should slide inside the drain pipe. You should feel resistance when you try to pull the plunger back up—this means you have a good seal.
Tip: If you have trouble getting a seal, try applying a small amount of petroleum jelly to the rim of the plunger cup. This can help it grip the porcelain better.
Step 3: Master the Plunging Technique
Now for the action. Proper technique is about force and rhythm, not frantic speed.
Visual guide about Step by Step Guide to Unclog a Toilet with a Plunger
Image source: heartofohiohvac.com
The Correct Motion
With a firm, tight seal established, grip the plunger handle with both hands. Your motion should be controlled and purposeful.
- Push: Start with a strong, steady push downward. This push forces water and air pressure into the drain, pushing against the clog.
- Pull: The pull is just as important. After the push, break the seal slightly with a sharp but controlled tug upward. This creates a suction effect that can help loosen the clog from the other side. Think of it as “push to shove it through, pull to yank it back.”
Establish a Rhythm
Don’t just pump wildly. Perform 15 to 20 of these deliberate push-pull plunges in a row. Maintain the seal throughout—the cup should not come completely out of the water or off the drain. You should see the water in the bowl moving vigorously. This action, called “burping,” is a good sign that pressure is being transmitted down the pipe.
Remember: The goal is to use the force of the water to break up or move the clog, not to stir the water in the bowl. Focus your energy on that downward push.
Step 4: Test the Drain and Repeat if Necessary
After a solid series of plunges, it’s time to check your work.
The Moment of Truth
With a final strong push, quickly pull the plunger away from the drain and out of the water. You should hear a gulping sound if the clog has cleared. Watch the water level in the bowl. If it drains away quickly and completely, congratulations! The clog is cleared.
If the Water Drains Slowly or Not At All
If the water level goes down but very slowly, or doesn’t move, the clog is likely still there but may be partially dislodged. This is normal. Simply repeat the plunging process from Step 3. Sometimes, stubborn clogs require two or three rounds. Be patient. Let the plunger and the water pressure do the work for you.
Example: For a dense clog of paper and waste, you might need to plunge for 30-45 seconds, rest, and then plunge again. The repeated pressure waves will gradually break it apart.
Step 5: The Final Flush and Cleanup
Once the clog is cleared, finish the job properly.
Confirm with a Flush
When the bowl empties normally, go ahead and flush the toilet once. This ensures everything is moving through the pipes as it should. If it flushes perfectly, you’re done with the mechanical part.
Disinfect Everything
Your job isn’t over until everything is clean. Carefully take your plunger to a utility sink or bathtub. Rinse it thoroughly with hot water. Then, disinfect it. You can use a bleach solution (1 part bleach to 10 parts water) or a dedicated bathroom disinfectant spray. Let it sit for a minute before rinsing again. Store it in a dedicated plunger holder or bucket, not sitting on the floor or in the toilet bowl.
Next, remove the towels from the floor. Wipe down the toilet bowl rim, handle, and any surfaces that may have gotten splashed with disinfectant. Finally, wash your gloves with soap and hot water, then wash your hands thoroughly.
Troubleshooting: What If Plunging Doesn’t Work?
Sometimes, a clog is too tough for a plunger alone. Here’s what to try next.
- Double-Check Your Technique: Are you using a flange plunger? Did you get a perfect seal? Was your motion strong and deliberate? Often, correcting the technique is all it takes.
- Try a Toilet Auger (Closet Auger): This is the logical next tool. A toilet auger is a long, flexible cable with a crank handle and a protective sleeve. You insert the cable into the drain and crank it to either break up the clog or hook onto it and pull it out. It’s designed for toilets and won’t scratch the porcelain.
- When to Call a Professional: If you’ve tried proper plunging and a toilet auger with no success, the clog may be deep in your main sewer line or caused by a non-flushable object. Repeated clogs in the same toilet can also signal a deeper problem. At this point, calling a licensed plumber is the smart and safe choice.
Conclusion: Confidence in Your Hands
Unclogging a toilet with a plunger is a fundamental home maintenance skill. By following this guide—preparing properly, creating a tight seal, using the correct plunging motion, and cleaning up diligently—you can handle most common toilet clogs efficiently and hygienically. Remember, the key is to stay calm, use the right tool, and apply steady, focused pressure. Keep a good quality flange plunger in every bathroom, and you’ll never have to face a clogged toilet with dread again. You’ve got this!