Not all toilet plungers are created equal. This guide cuts through the confusion to show you why a simple flange plunger is the best choice for most toilets, how to use it correctly, and what specialty options exist for tough jobs. You’ll learn how to choose, use, and maintain the right tool to conquer any clog with confidence.
Contents
- 1 Key Takeaways
- 2 Find the Best Toilet Plunger That Actually Works
- 3 Step 1: Understand the Different Types of Toilet Plungers
- 4 Step 2: How to Choose the Right Plunger for Your Home
- 5 Step 3: The Right Way to Use a Flange Plunger (Step-by-Step)
- 6 Step 4: Pro Tips and Troubleshooting
- 7 Conclusion: Your Path to a Clog-Free Home
- 8 Author
Key Takeaways
- Use a Flange Plunger for Toilets: The rubber flange creates the vital seal needed to push and pull water through the drain, making it the most effective standard type.
- Avoid Common Cup Plungers for Toilets: Their simple dome shape is designed for flat sink drains and will fail to seal in a toilet bowl, wasting your effort.
- Technique is Everything: A proper seal and forceful, deliberate plunge strokes are more important than the plunger itself. Slow, steady pressure beats frantic jabbing.
- Specialty Plungers Have Their Place: Accordion and toilet augers are powerful tools for severe clogs, but a good flange plunger solves 95% of household blockages.
- Maintain Your Plunger: Clean and dry your plunger after use and store it in a dedicated holder to keep it effective and hygienic for years.
- Seal the Overflow Tube: For a weak flush or persistent clog, covering the bowl’s overflow tube with a wet rag can dramatically increase plunging pressure.
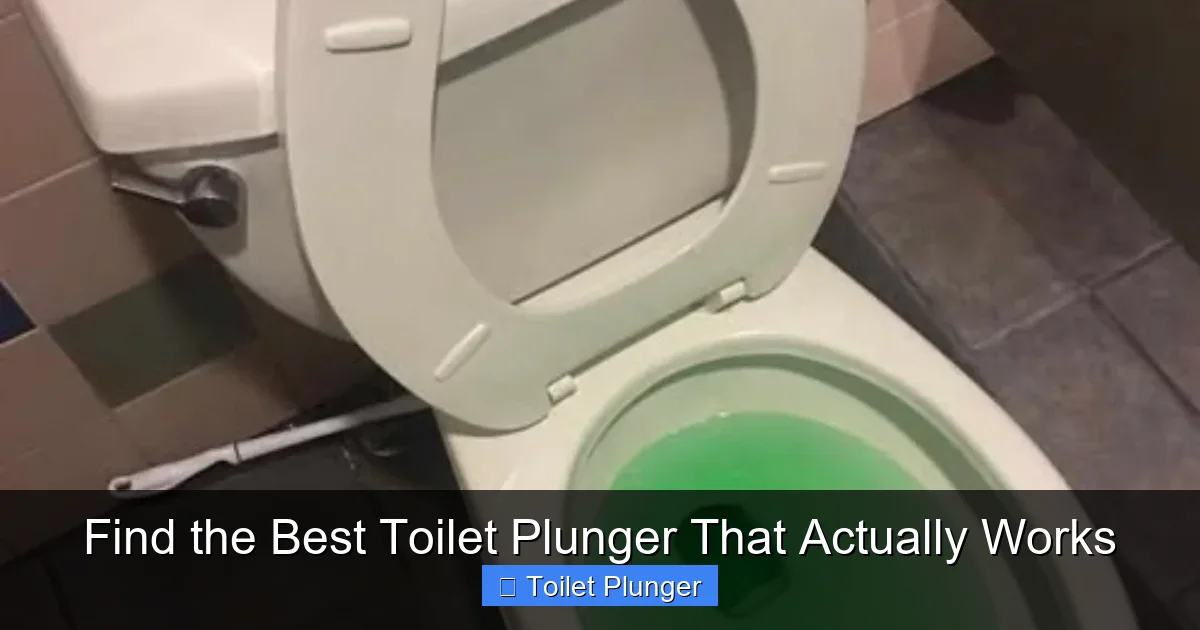
Find the Best Toilet Plunger That Actually Works
Few household moments bring a faster spike of dread than a toilet that won’t flush. Your first line of defense is a trusty plunger. But if you’re using the wrong kind or the wrong technique, you’re just fighting a losing, messy battle. This guide will help you find the best toilet plunger for your home. You’ll learn how to pick the right tool, use it like a pro, and solve common problems. Say goodbye to clogs for good.
Step 1: Understand the Different Types of Toilet Plungers
Think a plunger is just a plunger? That’s the first mistake. Each type is designed for a specific job. Using the wrong one is like using a butter knife to cut a steak.
Visual guide about Find the Best Toilet Plunger That Actually Works
Image source: recipes.ouskino.com
The Champion: The Flange (or Toilet) Plunger
This is the plunger you need for your toilet. It looks like a standard cup plunger with an extra piece—a soft rubber flap (the flange) folded inside the cup. For use, you fold this flange outward. It fits snugly into the toilet drain hole, creating the airtight seal essential for building pressure. The cup then fills with water, and your plunging motion forces that water down the drain and pulls it back, loosening the clog. It’s the undisputed best all-around toilet plunger.
The Imposter: The Common Cup (Sink) Plunger
This is the classic red rubber dome on a wooden handle. Do not use this on your toilet. It’s made for flat surfaces like sink and bathtub drains. The rounded toilet bowl prevents it from forming a seal, so all you do is splash dirty water around. If this is all you have, you’re setting yourself up for failure.
The Heavy-Duty Option: The Accordion Plunger
Made from hard plastic shaped like a bellows, this plunger is designed for maximum force. The accordion design moves a large volume of water with each stroke. It can be very effective for stubborn clogs. However, they are harder to clean, can crack, and the intense force risks damaging older porcelain if used too aggressively. It’s a specialist tool, not an everyday one.
The Specialist: The Toilet Auger (Closet Auger)
Not a plunger, but a critical tool when plunging fails. A toilet auger is a long, flexible cable inside a curved tube. You crank the handle to feed the cable through the toilet trap, where it can physically break up or hook a solid obstruction (like a toy or a large mass). If a flange plunger doesn’t work after several tries, an auger is the logical next step.
Step 2: How to Choose the Right Plunger for Your Home
Now that you know the types, follow this simple checklist to pick the winner.

Visual guide about Find the Best Toilet Plunger That Actually Works
Image source: cdn.apartmenttherapy.info
Prioritize a Quality Flange Plunger
For 95% of homes, this is the only plunger you need to buy. Look for:
- A Soft, Flexible Rubber: The flange and cup should be supple, not stiff. This allows it to conform and seal perfectly.
- A Long, Sturdy Handle: A wood or heavy-duty plastic handle around 20-30 inches long gives you good leverage and keeps you at a comfortable distance.
- A Large, Deep Cup: A bigger cup holds more water, creating more powerful pressure with each plunge.
Consider Your Specific Toilet
Most modern toilets have a standard 2-inch drain opening, which fits a standard flange. If you have an older toilet or a unique model (like a vessel toilet), check the drain size. Some plungers come with oversized or extra-flexible flanges for a universal fit.
Think About Storage and Hygiene
A plunger is not a decor item. Look for a model that comes with or can fit into a dedicated storage cup or holder. This contains drips and hides it from view. A tidy bathroom is a happy bathroom.
Step 3: The Right Way to Use a Flange Plunger (Step-by-Step)
A great tool is useless without the right technique. Follow these steps to become a clog-clearing master.
Visual guide about Find the Best Toilet Plunger That Actually Works
Image source: i.ytimg.com
Prepare the Area
Put on rubber gloves. Lay old towels or newspaper on the floor around the toilet. Have a bucket or small trash bag ready for used towels. This simple prep saves a big cleanup later.
Get the Right Water Level
The bowl needs enough water to cover the plunger’s rubber cup completely. If the clog has caused low water, slowly pour a bucket of water into the bowl until it’s halfway full. If it’s too full, carefully scoop some water into a bucket to prevent overflow when you start plunging.
Create the Perfect Seal
Pull the flange out from inside the cup. Place the plunger directly over the drain hole at the bottom of the bowl. Let it sink naturally. The water will help create the initial seal. Gently press down to let air escape from the cup, ensuring it’s filled with water, not air. The flange should be inside the drain, and the cup’s rim should be flat against the bowl’s bottom. This seal is the single most important part of the process.
Plunge with Purpose
With the handle upright, grip it firmly with both hands. Use your arms and shoulders, not just your wrists. Push down with steady, solid pressure, then pull back sharply to create a suction. The motion is a firm push-pull, not a frantic jab. Do this 10-15 times in a row. The goal is to move the water forcefully back and forth in the drain to disrupt the clog.
Test and Repeat
After a strong series, yank the plunger up quickly to break the seal. Watch to see if the water drains normally. If it does, give it a test flush. If the bowl still drains slowly or fills up, repeat the plunging process. Stubborn clogs may take 3-4 rounds. Be patient and persistent.
Step 4: Pro Tips and Troubleshooting
Even with the right tool and technique, some clogs put up a fight. Here’s how to win.
If You Can’t Get a Seal
If water keeps leaking around the rim of the plunger, your seal is broken. First, check that the flange is fully extended. Try smearing a little petroleum jelly on the rim of the rubber cup; this can help it grip the porcelain better. Ensure the water level is high enough to submerge the cup.
For a Weak Flush or Slow Drain
The Overflow Tube Trick: Locate the small hole near the rim of your toilet bowl (the overflow tube). Have a helper hold a wet rag tightly over this hole while you plunge. This prevents air from escaping through the tube and focuses all the plunging pressure down the drain. This simple trick is a game-changer for marginal clogs.
When the Plunger Isn’t Working
If repeated, proper plunging fails, do not keep flushing! You risk an overflow. This is the time to switch to a toilet auger. Feed the cable in slowly, crank the handle to navigate the trap, and feel for the obstruction. Retrieve it or break it apart. If the auger doesn’t work, it’s time to call a plumber—you may have a deeper blockage in your sewer line.
Maintaining Your Plunger
Clean your plunger after each use. Flush the toilet to clean the bowl, then swirl the plunger in the fresh water. You can also clean it with hot, soapy water or a mild bleach solution in a bucket. Rinse it thoroughly and let it dry completely before storing it in its holder. A clean plunger is a more effective (and less gross) tool.
Conclusion: Your Path to a Clog-Free Home
Finding the best toilet plunger isn’t about magic or gimmicks. It’s about smart basics. Get yourself a high-quality flange plunger with a sturdy handle. Learn the simple but crucial technique of creating a seal and plunging with steady force. Store it clean and ready for action. With this knowledge, you can face a clogged toilet without panic. You have the right tool and the know-how to use it. Remember, for the rare tough job, a toilet auger is a wise backup. Now go forth with confidence. Your throne awaits its rightful function.