Broom finish concrete is a simple, affordable way to create a durable, non-slip surface for driveways, patios, sidewalks, and pool decks. In this guide, you’ll learn exactly what broom finish concrete is, how it’s applied, its key benefits, best uses, and typical costs. We’ll also cover step-by-step installation, maintenance tips, and common mistakes to avoid so your concrete looks great and lasts for years.
Contents
- 1 Key Takeaways
- 2 What Is Broom Finish Concrete Benefits Uses And Cost
- 3 What Is Broom Finish Concrete?
- 4 Benefits of Broom Finish Concrete
- 5 Common Uses for Broom Finish Concrete
- 6 How to Install Broom Finish Concrete: Step-by-Step
- 7 Cost of Broom Finish Concrete
- 8 Tips for a Great Broom Finish
- 9 Common Problems and Troubleshooting
- 10 Maintenance and Care for Broom Finish Concrete
- 11 Is Broom Finish Concrete Right for You?
- 12 Conclusion
- 13 Author
Key Takeaways
- Point 1: Broom finish concrete is a standard concrete slab that is lightly brushed with a broom to create a textured, non-slip surface.
- Point 2: It is popular for driveways, sidewalks, patios, and pool decks because it is affordable, durable, and low maintenance.
- Point 3: Proper timing is critical; the broom finish must be applied after the surface has set slightly but before it becomes too hard.
- Point 4: Broom finish concrete offers good traction in wet conditions, making it safer than smooth troweled concrete.
- Point 5: Costs typically range from budget-friendly basic finishes to higher-priced colored or decorative broom finishes.
- Point 6: Regular cleaning, sealing, and quick repairs of cracks help broom finish concrete last longer and look better.
- Point 7: DIY is possible for small areas, but larger slabs or structural work are usually best left to experienced concrete contractors.
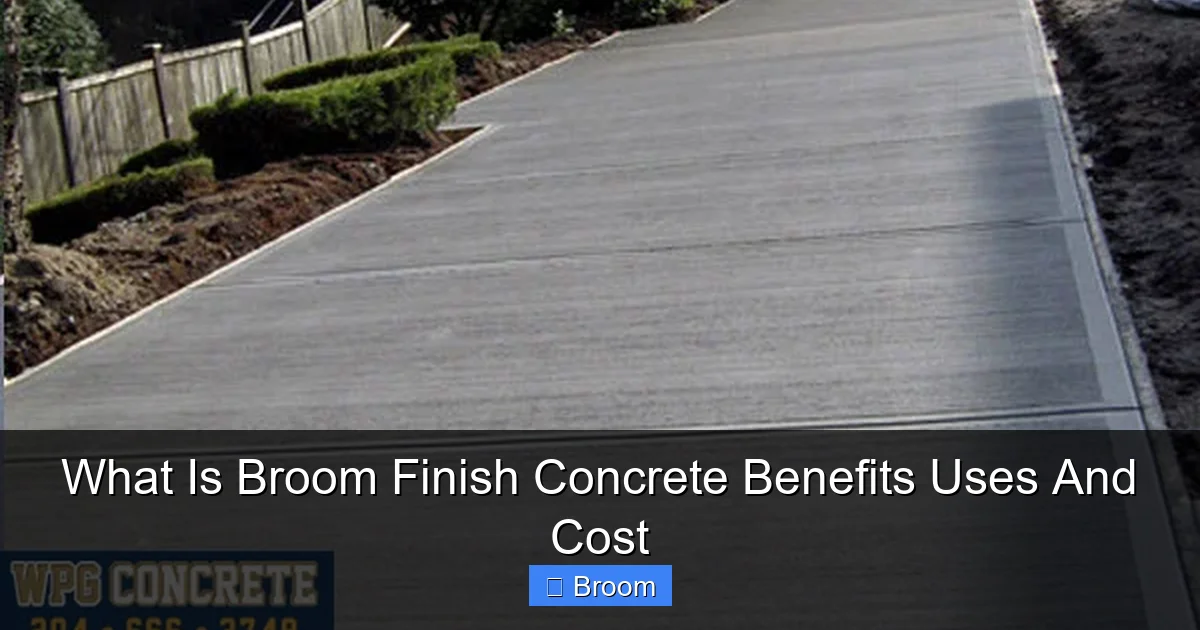
What Is Broom Finish Concrete Benefits Uses And Cost
When you walk on a sidewalk, driveway, or patio and see fine lines brushed into the surface, you are looking at broom finish concrete. This simple texture has been used for decades because it works so well. It adds grip, looks clean, and costs less than many decorative finishes.
In this guide, you will learn exactly what broom finish concrete is, how it is made, and why it is so popular. We will go through the benefits, the best uses, and what it usually costs. You will also see step-by-step instructions on how broom finish concrete is installed, plus tips to keep it looking good for years.
By the end, you will know if broom finish concrete is the right choice for your next project, and how to talk confidently with a contractor or handle a small DIY job.
What Is Broom Finish Concrete?
Broom finish concrete is regular concrete that has been finished with a broom while it is still fresh. After the concrete is poured and leveled, a broom is dragged across the surface to create fine, even lines. These lines add texture and make the surface less slippery.
Visual guide about What Is Broom Finish Concrete Benefits Uses And Cost
Image source: wpgconcrete.com
The broom can be a special concrete broom with soft or medium bristles, or even a clean household broom for small jobs. The direction and depth of the broom strokes can be adjusted to create different looks and levels of grip.
Broom finish concrete is one of the most common finishes for outdoor slabs. It is used on:
- Driveways
- Sidewalks and walkways
- Patios
- Garage aprons
- Pool decks and steps
- Ramps and entryways
People like broom finish concrete because it is simple, strong, and practical. It does not require special tools or complex skills, but timing and technique still matter a lot.
Benefits of Broom Finish Concrete
There are many reasons broom finish concrete is so popular. Here are the main benefits you should know.

Visual guide about What Is Broom Finish Concrete Benefits Uses And Cost
Image source: nextlevelconcrete.ca
1. Non-Slip Surface
The biggest advantage of broom finish concrete is traction. The broom lines create small ridges. These ridges help shoes and tires grip the surface, even when it is wet.
This is especially important in areas like:
- Sloped driveways
- Pool decks
- Steps and ramps
- Walkways in rainy or snowy climates
Compared to smooth troweled concrete, broom finish concrete is much safer underfoot.
2. Affordable and Cost-Effective
Broom finish concrete is one of the most affordable concrete finishes. It uses standard concrete and basic tools. There are no expensive stamps or complex color systems required.
For homeowners and property owners who want a clean, functional surface without a big price tag, broom finish concrete is a smart choice. You get durability and safety without paying for high-end decorative work.
3. Durable and Long-Lasting
Because broom finish concrete is usually used outdoors, it is designed to last. When installed on a proper base and cured correctly, it can handle:
- Car and light truck traffic
- Weather changes and freeze-thaw cycles
- Foot traffic and outdoor furniture
- Everyday wear and tear
The broom finish itself does not weaken the concrete. It is only a surface texture. The strength comes from the concrete mix, thickness, reinforcement, and good installation practices.
4. Simple, Clean Appearance
Broom finish concrete has a neat, uniform look. The lines run in one direction and give the surface a subtle pattern. It fits well with many home styles, from traditional to modern.
If you want a clean, low-key look that does not draw too much attention, broom finish concrete is ideal. You can leave it gray, or you can add color for more style.
5. Low Maintenance
Another benefit of broom finish concrete is easy care. It does not need special cleaning products or frequent sealing. With basic maintenance, it can look good for many years.
We will cover maintenance in more detail later, but in general, broom finish concrete needs:
- Occasional sweeping and washing
- Periodic sealing (every few years)
- Quick repairs of cracks or chips
Common Uses for Broom Finish Concrete
Broom finish concrete works well in many areas around a home or commercial property. Here are the most common uses and what to consider for each.
Driveways
Broom finish concrete driveways are very common. The texture helps tires grip the surface, especially in rain or snow. It also hides minor stains and marks better than a smooth finish.
For driveways, the broom strokes are usually pulled perpendicular to the slope. This helps with traction when driving up or down.
Sidewalks and Walkways
Sidewalks and walkways need to be safe for people of all ages. Broom finish concrete provides a comfortable walking surface that is not too rough but still slip-resistant.
On walkways, the broom lines are often run across the path, not along it. This gives better grip in the direction people walk.
Patios
For patios, broom finish concrete is an affordable and practical choice. It can be left plain or combined with borders, saw cuts, or color for more style.
Because patios often have furniture and grills, the light texture helps hide small scuffs and marks. It also makes the surface safer when drinks or water are spilled.
Pool Decks
Pool decks need excellent traction. Water is always present, and bare feet need a surface that is not slippery. Broom finish concrete is often used here because it offers grip without being too harsh on skin.
Contractors may choose a softer broom or a lighter touch to keep the surface comfortable for bare feet.
Steps, Ramps, and Entrances
Any area where slipping could cause a fall is a good place for broom finish concrete. Steps, ramps, and building entrances often use this finish to improve safety, especially in wet or icy conditions.
How to Install Broom Finish Concrete: Step-by-Step
Now let’s walk through how broom finish concrete is installed. Even if you do not plan to do it yourself, understanding the process helps you judge the quality of a contractor’s work.
Step 1: Plan the Project
Before any concrete is poured, planning is essential.
- Measure the area: Know the length, width, and thickness of the slab.
- Check drainage: The slab should slope slightly away from buildings to shed water.
- Call utility locators: Make sure you know where gas, water, and electric lines are.
- Decide on joints: Plan where control joints (cut lines) will go to help control cracking.
Good planning reduces problems later and helps your broom finish concrete last longer.
Step 2: Prepare the Base
A strong slab starts with a solid base.
- Excavate: Remove grass, roots, and soft soil to the required depth.
- Add base material: Usually 4–6 inches of compacted gravel or crushed stone.
- Compact: Use a plate compactor or hand tamper to create a firm, even base.
- Set forms: Install wood or metal forms to define the edges and set the height and slope.
If the base is weak or uneven, the concrete can crack or settle, no matter how good the broom finish is.
Step 3: Place Reinforcement (If Needed)
For many broom finish concrete slabs, reinforcement is used to increase strength.
- Wire mesh: Common for driveways and patios.
- Rebar: Used for heavier loads or larger slabs.
The reinforcement should sit in the middle of the slab thickness, not on the ground. Small supports, called chairs, can hold it in place.
Step 4: Pour and Level the Concrete
Once the base and forms are ready, it is time to pour.
- Order the right mix: For outdoor broom finish concrete, a typical mix is 3,000–4,000 psi with air entrainment in cold climates.
- Place the concrete: Pour it into the forms, spreading it evenly.
- Screed: Use a straight board or screed tool to level the surface to the top of the forms.
- Bull float: Run a bull float over the surface to smooth it and push larger aggregate down slightly.
At this stage, the concrete will still be wet and shiny. It is not ready for the broom finish yet.
Step 5: Allow the Surface to Set
Timing is the most important part of broom finish concrete. You must wait until the surface has set enough to hold the broom texture, but not so long that it becomes too hard.
How long this takes depends on:
- Temperature
- Wind and sun
- Concrete mix
The surface is usually ready when:
- The shine (bleed water) is gone.
- You can press a finger lightly and leave a slight mark, but not a deep hole.
Never broom while there is still bleed water on the surface. That can weaken the top layer and lead to flaking or dusting later.
Step 6: Apply the Broom Finish
When the concrete is at the right stage, it is time to create the broom finish.
- Choose the broom: Use a clean concrete broom with the right stiffness for the texture you want.
- Decide direction: Plan which way the lines will run (usually across the main direction of travel or perpendicular to slopes).
- Pull the broom: Drag the broom across the surface in straight, even strokes.
- Overlap slightly: Overlap each pass a little to avoid gaps or double lines.
The pressure should be steady. Too light and the texture will be faint. Too heavy and the surface can look rough or uneven. Experienced finishers adjust the pressure as the concrete continues to set.
Step 7: Cut Joints and Cure the Concrete
After the broom finish is complete, the concrete still needs to be protected and cured.
- Cut control joints: These are placed at regular intervals (often 8–12 feet apart) and at slab corners. They help control where cracks occur.
- Cure the slab: Concrete should be kept moist or sealed to cure properly. This can be done with curing compounds, plastic sheeting, or light watering, depending on climate and product used.
- Protect from damage: Keep people, pets, and vehicles off the slab until it has gained enough strength, usually several days for foot traffic and at least a week or more for vehicles, depending on the mix and conditions.
Proper curing helps broom finish concrete reach its full strength and resist surface problems like dusting and scaling.
Cost of Broom Finish Concrete
The cost of broom finish concrete depends on several factors. However, it is usually more affordable than stamped or decorative concrete.
Factors That Affect Cost
- Size of the project: Larger areas often have a lower cost per square foot.
- Thickness of the slab: Thicker slabs use more concrete and cost more.
- Site conditions: Difficult access, poor soil, or complex shapes can increase labor costs.
- Reinforcement: Adding rebar or wire mesh raises the price slightly.
- Color or additives: Integral color, surface color, or special mixes cost more than plain gray concrete.
- Local labor and material prices: Costs vary by region and market conditions.
Typical Price Range
While prices can vary widely, broom finish concrete is usually in the lower price range for concrete work. Basic gray broom finish concrete is often one of the most budget-friendly options for driveways, patios, and walkways.
Adding color, decorative borders, or special sealers will increase the cost, but it is still often cheaper than full stamped or exposed aggregate finishes.
Tips for a Great Broom Finish
Here are some practical tips to help you get the best results from broom finish concrete, whether you hire a pro or do a small project yourself.
- Use the right broom: A broom that is too stiff can make the surface too rough. A broom that is too soft may not create enough texture.
- Keep the broom clean: Rinse the broom head regularly to prevent buildup that can cause streaks or clumps.
- Watch the weather: Hot, windy, or very sunny days can make concrete set faster. You may have less time to apply the broom finish.
- Avoid overworking the surface: Too much troweling or reworking can bring excess paste to the top and weaken the surface.
- Plan the exit: Make sure you have a way to leave the slab without stepping on the finished surface.
Common Problems and Troubleshooting
Even with careful work, broom finish concrete can sometimes have issues. Here are some common problems and what causes them.
Surface Flaking or Scaling
Flaking or scaling happens when the top layer of concrete peels or chips away. This can be caused by:
- Brooming too early while bleed water is present
- Using too much water in the mix or on the surface
- Poor curing, especially in freeze-thaw climates
- De-icing salts used too soon after placement
To reduce the risk, use a proper mix, avoid adding water on top, broom at the right time, and cure correctly.
Uneven or Wavy Broom Lines
If the broom strokes are not straight or consistent, the surface can look messy.
- Keep your strokes steady and in one direction.
- Overlap passes slightly but evenly.
- Use guide boards or visual reference points if needed.
Cracking
All concrete will crack to some degree, but good practices can control where and how it cracks.
- Use proper base preparation.
- Place control joints at the right spacing and depth.
- Avoid rapid drying by curing properly.
Hairline cracks are common and usually not a structural concern. Larger cracks may need repair.
Maintenance and Care for Broom Finish Concrete
Maintaining broom finish concrete is simple, but it should not be ignored. Good care helps it last longer and look better.
Regular Cleaning
Keep the surface clean by:
- Sweeping or blowing off leaves, dirt, and debris.
- Washing with a garden hose and mild detergent for stains.
- Using a pressure washer carefully, without getting too close or using very high pressure that can damage the surface.
Sealing the Surface
Sealing broom finish concrete can:
- Protect against water and stains.
- Reduce damage from freeze-thaw cycles.
- Make cleaning easier.
Use a sealer designed for exterior concrete. Follow the manufacturer’s directions for application and reapplication intervals.
Repairing Cracks and Damage
Inspect your broom finish concrete once or twice a year.
- Fill small cracks with a concrete crack filler.
- Patch small chips or spalls with a repair mortar made for exterior concrete.
- For large or structural damage, consult a professional.
Is Broom Finish Concrete Right for You?
Broom finish concrete is a practical, budget-friendly option for many projects. It offers good traction, a clean appearance, and long life with simple care. It works especially well for driveways, sidewalks, patios, and pool decks where safety and durability matter.
If you want a highly decorative look with patterns or complex colors, you might consider stamped or stained concrete. But if your main goals are function, safety, and value, broom finish concrete is often the best choice.
Conclusion
You now know what broom finish concrete is, how it is made, and why it is so widely used. This finish combines a simple look with a non-slip surface, making it ideal for many outdoor areas. You have seen the steps involved in installation, the key benefits, typical costs, and how to care for it over time.
Whether you plan to hire a contractor or just want to understand your options better, this knowledge will help you make a smart decision. With proper planning, good installation, and basic maintenance, broom finish concrete can serve you well for many years.
🎥 Related Video: Concrete Broom Tool Innovation for Technology in Road Finishing
📺 Innoforge Studio
Concrete Broom Tool Innovation for Technology in Road Finishing Technical specifications of the tool – Roller width: 40–60 cm …