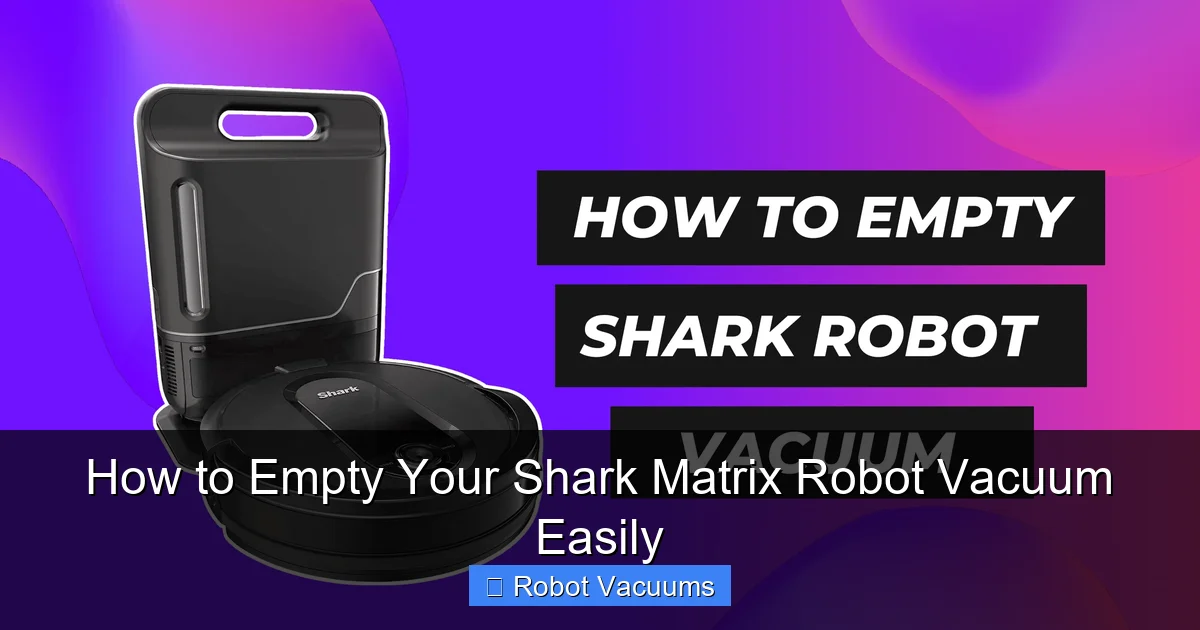
Emptying your Shark Matrix robot vacuum is a simple but crucial task for maintaining its powerful suction. This guide walks you through the entire process, from locating and removing the dust bin to cleaning the filters and sensors. Following these steps will ensure your robot vacuum operates efficiently for years to come.
Contents
- 1 Key Takeaways
- 2 How to Empty Your Shark Matrix Robot Vacuum Easily
- 3 Step 1: Preparation and Safety
- 4 Step 2: Locate and Remove the Dust Bin
- 5 Step 3: Empty the Dust Bin Properly
- 6 Step 4: Clean the Filters (A Crucial Step)
- 7 Step 5: Perform a Quick Vacuum Check-Up
- 8 Step 6: Reassemble and Restart
- 9 Troubleshooting Common Issues
- 10 Conclusion
- 11 Author
Key Takeaways
- Empty the Bin After Every Clean: For best performance, empty the dust bin following each cleaning cycle to prevent clogs and maintain suction.
- Power Down Before Servicing: Always turn off the vacuum and pause any cleaning cycle before attempting to remove or empty the dust bin.
- Clean Filters Regularly: Remove and tap out the foam and felt filters weekly to prevent fine dust from impeding airflow and motor performance.
- Inspect for Blockages: Regularly check the bin inlet, main brush, and side brushes for hair and debris that can cause operational issues.
- Handle the Bin Over a Trash Can: Open the bin’s lid carefully while holding it directly over your trash can to contain the mess and prevent dust from escaping.
- Wipe Down Sensors: Gently clean the cliff and navigation sensors with a dry cloth to ensure your vacuum can map and navigate your home accurately.
- Reassemble Correctly: Ensure all components, especially the filters, are completely dry and snapped securely into place before restarting your vacuum.
How to Empty Your Shark Matrix Robot Vacuum Easily
Your Shark Matrix robot vacuum is a cleaning powerhouse. It maps your home and tackles dirt on multiple surfaces. But to keep it working like new, you need to empty it regularly. A full dust bin makes your vacuum work harder. It can reduce suction and strain the motor.
This guide will show you how to empty your Shark Matrix. We will cover every step in detail. You will also learn how to clean the filters and check for clogs. Let’s get started. You will have a clean and happy robot vacuum in just a few minutes.
Step 1: Preparation and Safety
First, let’s get ready. Proper preparation makes the job easy and safe.
Visual guide about How to Empty Your Shark Matrix Robot Vacuum Easily
Image source: robotchores.com
Pause or End the Cleaning Cycle
If your Shark Matrix is cleaning, you need to stop it. You can press the “Pause” or “Stop” button on the robot itself. You can also use the SharkClean app. Do not try to remove the bin while the vacuum is running.
Send the Robot to Its Dock
It is easiest to empty the vacuum at its charging dock. Use the app or the “Dock” button on the robot. This gives you a stable, well-lit place to work.
Turn Off the Vacuum
For absolute safety, power down the unit. You can do this by holding the power button. Or, simply pick it up from the dock. This prevents any accidental starts.
Gather Your Supplies
You will need just a few things:
- A trash can.
- A small, dry brush or old toothbrush.
- A clean, dry microfiber cloth.
- A well-lit, flat surface like a table.
Step 2: Locate and Remove the Dust Bin
The dust bin is the heart of the operation. On the Shark Matrix, it is cleverly hidden under a lid on top of the robot.

Visual guide about How to Empty Your Shark Matrix Robot Vacuum Easily
Image source: cgmagonline.com
Find the Release Latch
Look at the top of your vacuum. You will see a smooth lid near the center. There is a small indentation or a labeled latch at the back edge. This is the bin release.
Open the Lid and Lift the Bin Out
Press the latch firmly. The lid will pop open. Inside, you will see the clear plastic dust bin. Grab the handle or the sides of the bin. Pull it straight up and out. It should come out smoothly. Do not force it.
Pro Tip: Hold the vacuum steady with one hand while you remove the bin with the other. This gives you more control.
Step 3: Empty the Dust Bin Properly
This is the main event. Doing this neatly is key.
Visual guide about How to Empty Your Shark Matrix Robot Vacuum Easily
Image source: res.cloudinary.com
Carry the Bin to Your Trash Can
Always take the bin to a trash can. Do not bring the trash can to your clean floor or table. This contains the mess.
Open the Bin’s Bottom Flap
Turn the bin over. You will see a large, hinged plastic flap on the bottom. There is a latch, usually in the center. Push or slide this latch to unlock the flap.
Shake and Tap Gently
Hold the bin over the trash can. Open the flap. Let the debris fall out. Give the bin a few gentle shakes and taps against the inside of the trash can. This helps dislodge packed-in dust and pet hair.
Check for Stuck Debris
Look inside the empty bin. Sometimes, hair or string gets wrapped around inside. Use your fingers or the dry brush to pull any stuck material out. A clean bin is a happy bin.
Step 4: Clean the Filters (A Crucial Step)
Your Shark Matrix has two filters. They trap fine dust. If they get clogged, your vacuum loses power. You should clean these filters every time you empty the bin.
Remove the Filters from the Bin
Look inside the empty dust bin. You will see a plastic frame. Pull this frame straight up. It contains both the foam filter (on top) and the felt filter (underneath).
Tap Out the Dust
Hold the filter assembly over the trash can. Tap it firmly against the palm of your other hand. Do this several times. You want to knock all the fine gray dust out of both filters.
Inspect and Brush
Look closely at the felt filter. If dust is still embedded, use your dry brush. Gently brush the surface of the filter. Brush in one direction. Do not scrub the foam filter. Just tapping is enough.
Important: Never rinse or wash these filters unless your manual specifically says you can. Water can ruin them. Only use the dry cleaning method described here.
Reinsert the Filters
Once the filters look clean, place the frame back into the dust bin. Push down until it clicks or sits flush. Make sure it is secure. A loose filter frame will cause leaks and poor performance.
Step 5: Perform a Quick Vacuum Check-Up
While you have the vacuum apart, take one minute for a quick health check. This prevents future problems.
Clear the Bin Inlet
Look at the hole in your vacuum where the bin sits. This is the inlet. Shine a light in there. Use your brush or a long tool to pull out any hair or debris clogging the passage.
Check the Main Brush Roll
Turn your vacuum over. Release the brush roll cover. Pull out the main brush. Cut away any hair or string wrapped around the ends. Wipe it clean with your cloth.
Wipe the Sensors
Find the sensors. There are cliff sensors on the bottom. There are navigation sensors on the top. Gently wipe each one with your dry microfiber cloth. Clean sensors help your vacuum avoid falls and navigate better.
Step 6: Reassemble and Restart
You are almost done. Now, put everything back together the right way.
Reinsert the Dust Bin
Take your clean, empty bin with its filters secured. Align it with the slot inside your vacuum. Slide it straight down. You should feel it click into place. Do not force it.
Close the Lid
Gently close the top lid on your Shark Matrix. Press down until it clicks shut. A closed lid is essential for proper suction.
Power Up and Test
Place your vacuum back on its dock. Turn it on. Start a quick cleaning job from the app. Listen for smooth operation. Check that the suction feels strong. Your Shark Matrix is now ready for its next mission.
Troubleshooting Common Issues
Sometimes, things do not go perfectly. Here are simple fixes.
Bin is Empty but Vacuum Still Says “Empty Bin”
The sensor might be dirty. Turn off the vacuum. Remove the bin. Look for the small sensor inside the bin compartment. Wipe it gently with a dry cotton swab. Reinsert the bin firmly.
Suction Seems Weak After Emptying
You probably missed the filters. Remove them and tap them out again. Also, check for a clog in the bin inlet or the brush roll housing. A complete blockage will always cause weak suction.
The Bin is Difficult to Remove or Insert
Do not use force. Make sure you are pressing the release latch fully. Check for debris blocking the bin’s path. Align the bin perfectly straight before pushing it in.
Conclusion
Emptying your Shark Matrix robot vacuum is simple. It takes less than five minutes. But this small task has a huge impact. A clean vacuum works better. It lasts longer. It keeps your home cleaner.
Remember the core steps: stop the vacuum, remove the bin, empty it over trash, clean the filters, and do a quick check-up. Make this a part of your routine after every major clean. Your Shark Matrix is a smart machine. With just a little care from you, it will keep your floors spotless for years.
🎥 Related Video: Robot | How to Maintain (Shark Matrix™ Self Emptying Robot Vacuum)
📺 Shark Home
With the Shark Matrix™ Self Emptying Robot Vacuum, you’ll achieve convenient, hands-free cleaning. Follow these tips to keep …