This guide will teach you how to use a spin mop bucket system for perfectly damp mops and efficient cleaning. You’ll learn the correct setup, spinning technique, and maintenance to save time and effort while achieving superior results on all your hard floor surfaces.
Contents
Key Takeaways
- Proper Assembly is Crucial: Correctly fitting the spinning mechanism and mop head ensures the system works safely and effectively.
- The Water Level Matters: Filling the bucket to the indicated line prevents splashing and allows for optimal spinning power.
- Master the Spin Technique: A firm, steady push on the handle activates the centrifugal force to wring the mop to your desired dampness.
- Work in Sections: Clean your floor in manageable quadrants, rinsing and spinning the mop head frequently to avoid spreading dirt.
- Immediate Cleanup is Best: Empty, rinse, and dry all parts of the spin mop bucket after each use to prevent odors and mildew.
- Use the Right Cleaner: Always use floor-cleaning solutions recommended by your floor’s manufacturer to avoid damage.
Master the Spin Mop Bucket for Effortless Cleaning
Are you tired of heavy, dripping-wet mops and back-breaking wringing? The spin mop bucket is a game-changer. It promises easier, faster, and more hygienic floor cleaning. But to get the sparkling results you see in ads, you need to know how to use it right. This complete guide will walk you through every step. You will learn setup, the perfect spinning technique, and smart maintenance tips. Let’s turn that new bucket into your favorite cleaning tool!
Part 1: Getting Started with Your Spin Mop Bucket
First, let’s get familiar with your tool. A spin mop bucket has two compartments. One is for clean water and cleaning solution. The other is for dirty rinse water. The star of the show is the spinning basket inside the clean water side. This is where the magic happens.
Unboxing and Assembly
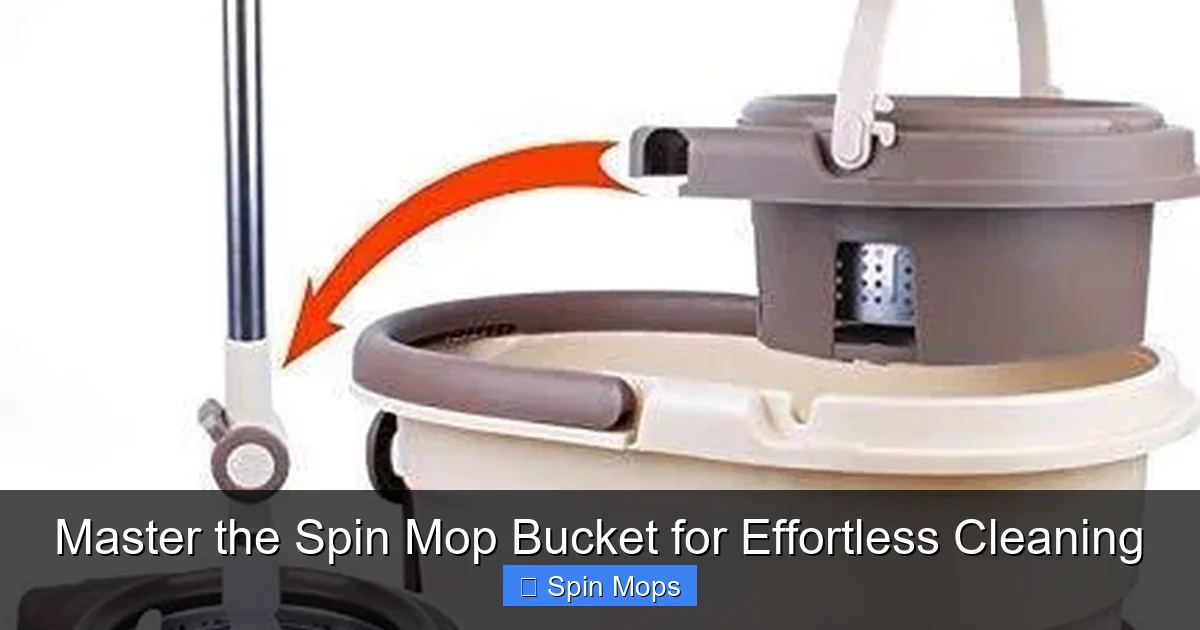
Take all parts out of the box. You should have the bucket with two compartments, a spinning basket, a mop handle, and a removable mop head. Assembly is usually simple.
- Attach the Spinning Basket: Place the spinning basket into the designated side of the bucket (usually marked). It should click or settle firmly into place. Ensure it spins freely.
- Connect the Mop Head: Slide the plastic connector on the mop head onto the end of the metal mop handle. Push it on until you hear a secure click. Give it a gentle tug to confirm it’s locked.
- Check the Pedal/Handle: Familiarize yourself with the foot pedal or handle mechanism that makes the basket spin. Press it a few times without water to see how it engages.
Preparing Your Cleaning Solution
Never pour cleaner directly onto your floors or the dry mop head. Always mix it in the bucket.
- Fill the clean water side (with the spinning basket) with warm water up to the marked fill line. Hot water can damage some mop fibers.
- Add the recommended amount of your floor cleaner. For most solutions, a capful or two is plenty. Using too much creates sticky residue.
- Let the mop head soak in this solution for 2-3 minutes before you start. This helps it absorb the cleaner and become fully saturated.
Part 2: The Step-by-Step Cleaning Process
Now for the main event. Follow these steps to clean your floors like a pro.
Visual guide about Master the Spin Mop Bucket for Effortless Cleaning
Image source: img.drz.lazcdn.com
Step 1: Saturate and Spin the Mop
Place the attached mop head into the clean water solution. Swirl it around to ensure it’s fully soaked. Then, lift it and place it directly into the spinning basket.
- The Key Technique: Hold the mop handle straight up and down. Firmly and steadily press down on the foot pedal (or pull the handle, depending on your model).
- Do not pump it rapidly. A steady, strong press will spin the basket at high speed. This uses centrifugal force to force water out of the mop head.
- Spin for 5-10 seconds for a damp mop, ideal for most floors. For a drier mop, spin longer. For a wetter mop for tough grime, spin briefly or skip spinning after soaking.
Step 2: Start Mopping Your Floor
Begin in the corner of the room farthest from the door. Work your way backwards toward the exit so you don’t walk on your freshly cleaned floor.
- Use a Figure-Eight Motion: This motion cleans effectively without just pushing dirt around. Glide the mop; don’t press down hard.
- Work in Small Sections: Tackle the room in 4×4 foot quadrants. Once you’ve mopped a section, rinse the mop head before moving on.
Step 3: Rinse and Spin Frequently
This is the secret to a truly clean floor! After cleaning each section, rinse the dirt out of the mop.
- Dip the dirty mop head into the rinse water side of the bucket. Swish it around vigorously to release dirt.
- Lift it, let the dirty water drip into the rinse side, then place it into the spinning basket.
- Use the pedal again to spin out the dirty rinse water. Your mop is now clean, re-saturated with fresh solution, and ready for the next section.
Repeat the process: mop a section, rinse in the dirty water side, spin clean. This prevents you from reapplying dirt to your floor.
Part 3: Pro Tips for Best Results
These extra tips will make you a spin mop expert.

Visual guide about Master the Spin Mop Bucket for Effortless Cleaning
Image source: img.drz.lazcdn.com
- Vacuum or Sweep First: Always remove loose dirt and debris. A spin mop is for washing, not for picking up crumbs or pet hair.
- Control Dampness: For sealed hardwood or laminate, spin until the mop is just barely damp. For tile or vinyl, a damper mop is fine.
- Replace Rinse Water: If the water in the rinse side becomes very dirty, empty it and refill it with clean water mid-job.
- Wring Out Excess Water at the End: Give the mop head a final, long spin after you’re done. This helps it dry faster and prevents mildew.
Part 4: Troubleshooting Common Issues
Having problems? Here are simple fixes.
The Spinning Basket is Stuck or Hard to Press
Check that the basket is seated correctly. Make sure no part of the mop head is tangled or caught on the bucket’s edge. Ensure you are pressing the pedal straight down.
The Mop is Not Getting Dry Enough
You may not be spinning it long enough. Hold the pedal down for a full 10-15 seconds with steady pressure. Also, check that the mop head is centered in the basket.
Water is Splashing Out of the Bucket
You are likely overfilling the bucket. Never fill past the max line. Also, ensure you’re not pumping the pedal too fast. A steady press is key.
The Mop Head Smells Musty
This means it was stored wet. Always spin it dry after use and remove it from the handle. Let it air-dry completely in a well-ventilated area before storing.
Part 5: Cleaning and Maintenance
Taking care of your spin mop bucket ensures it lasts for years.
After Each Use
- Empty both compartments of the bucket.
- Rinse the bucket, spinning basket, and mop head with clean water.
- Wipe down the bucket inside and out with a dry cloth.
- Remove the mop head and hang it (or lay it flat) to air dry completely.
Deep Cleaning Monthly
To disinfect and remove any buildup, mix a solution of one part white vinegar to four parts warm water. Fill the clean water side, add the mop head, and let it soak for 30 minutes. Then, run it through a spin cycle and rinse everything thoroughly.
Conclusion
Mastering your spin mop bucket is simple once you know the steps. It all comes down to proper setup, the steady spin technique, and frequent rinsing. This powerful system takes the mess and strain out of floor cleaning. It leaves you with a hygienically clean mop for every swipe and beautifully clean floors. Say goodbye to heavy buckets and sore hands. Embrace the spin, and make effortless cleaning your new routine!
🎥 Related Video: how to use the spin mop
📺 Tsmine Official
With a smart rotary lock switch that you unlock and when you place the mop in the bucket and push down on the handle the …